

Got tons of old or unused crayons lying around? Instead of throwing them away, it’s a wonderful idea to use them to make a boring ornament look more interesting or a plain t-shirt appear more eye-catching. Below are some nifty things that can be done with the use of crayons plus a few other materials and tools that are already in your home.
Colorful Pine Cones
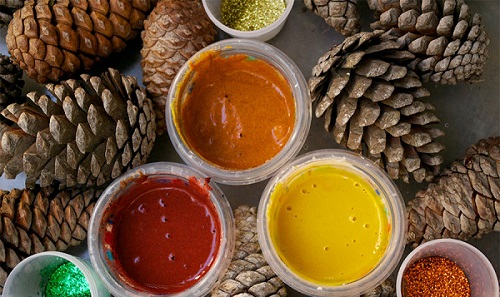
Make colorful pinecone ornaments with the use of old crayons. In a small glass jar, place crayons broken up into small pieces. It’s completely up to you if you want to use crayons from the same family of color or different ones. Pop the jar in the microwave and heat for about 2 minutes. Stir with a popsicle stick and repeat the procedure until everything’s completely melted. Carefully dip pinecones into the jar. Place them on a sheet of wax paper to dry.
New Crayons in Fun Shapes
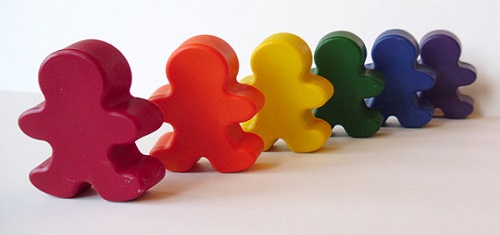
Kids will surely find each and every coloring time more exciting with the help of crayons in fun shapes. To get started with the project, simply collect all broken or unused crayons. Segregate them according to colors. Place a group of crayons in a small coffee can and dip it in a saucepan with boiling water. Constantly stir until fully melted. Carefully pour into silicon molds. Allow to completely cool and pop them all out!
Eye-Catching Candles

Fill a Dixie cup with wax and a stick of unused crayon, broken up into several pieces. Heat it in the microwave for about 2 minutes. Use a popsicle stick to mix and heat for another 2 minutes. Grab a votive and hold a wick in the center as you pour the mixture of wax and crayons. To come up with a really eye-catching candle, try filling the votive with different colored wax layer by layer, allowing each layer to completely cool before adding another.
Pointillism Masterpiece
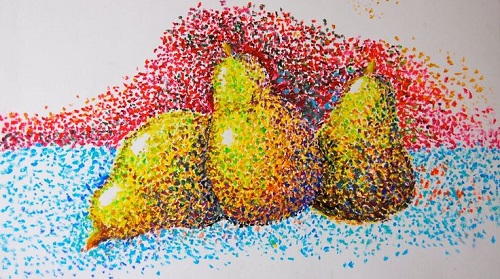
For this project, grab a thick sheet of paper according to your desired size. Use a pencil to plan your complete artwork. Once done, unwrap the crayons and light a small candle. Place the tip of the crayon about an inch away from the flame. Before it drips, quickly dab the tip of the crayon on the desired area on the paper. Repeat the entire procedure. Completing a pointillism artwork may be time consuming but the result will surely make eyes pop.
A Lively Frame
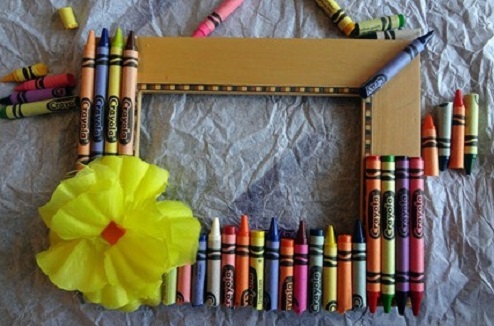
A colorful artwork deserves to be framed in an equally colorful manner. After completing the masterpiece above or any other artwork you love, have it placed in a frame with wide edges. Pick a corner and use a hot glue gun to attach crayons along the edges. Use a bread knife to saw crayons that won’t fit. It is completely up to you whether you want to keep the crayons wrapped or unwrapped — the result would still be colorful!
Crayon Printed T-Shirt
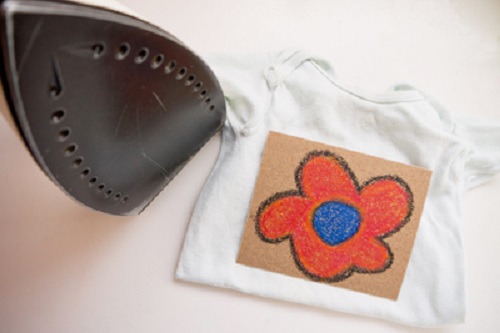
Adorning a boring t-shirt is easy with some unused crayons. On a white sheet of paper, simply create the desired artwork using crayons. Once you’re happy with the design, it’s time to prepare the shirt for the transfer. Grab a piece of cardboard and place it inside the shirt. This will keep the design from bleeding through the back part of the tee. Place the artwork face down on the front of the shirt and iron on “cotton” setting for about 30 seconds.
Colorful Glass Ornaments
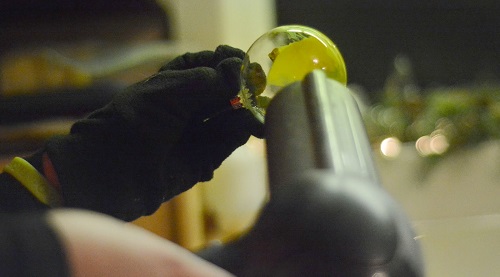
Looking for a simple way to spruce up those boring glass globe ornaments for the Christmas tree? Make them look really interesting with the help of old crayons and a hair dryer. Remove the silver top of a glass globe. Insert a small piece of crayon and put the top back again. Put on a thermal mitt and hold the glass ornament and heat up the crayons with your hair dryer. Swirl the glass globe around to come up with interesting patterns.
Faux Stained Glass
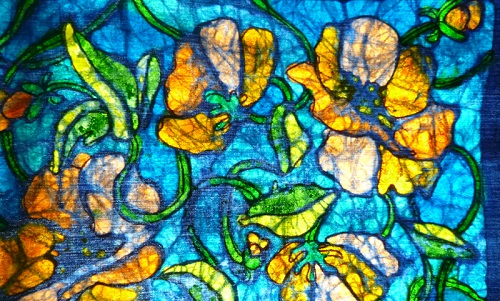
It’s really simple to come up with this ornament that adds tons of colors to the room when light shines through it. On a large sheet of wax paper, simply shave old crayons with a cheese grater. It’s completely up to you to choose which colors you wish to combine and how you like to arrange them. Place another sheet of wax paper over the shavings and iron on low setting. Allow to cool completely and cut into desired shapes and sizes.