


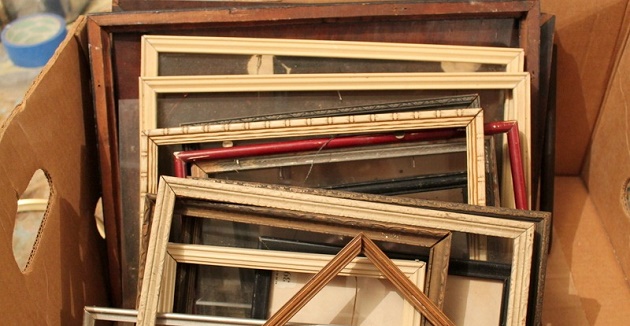
With the rise of technology and social media, photo frames are not as often used as they were before. You may have a bunch of old picture frames lying around but no picture to display on it. Or you could have just gotten tired of an old picture frame and decided to replace it with a new one. No matter what the case is, don’t throw out that old frame just yet. You can use it for various DIYs to style up your home. Here are five ways you can upcycle your old picture frames.
1. Inspiration or Mood Board
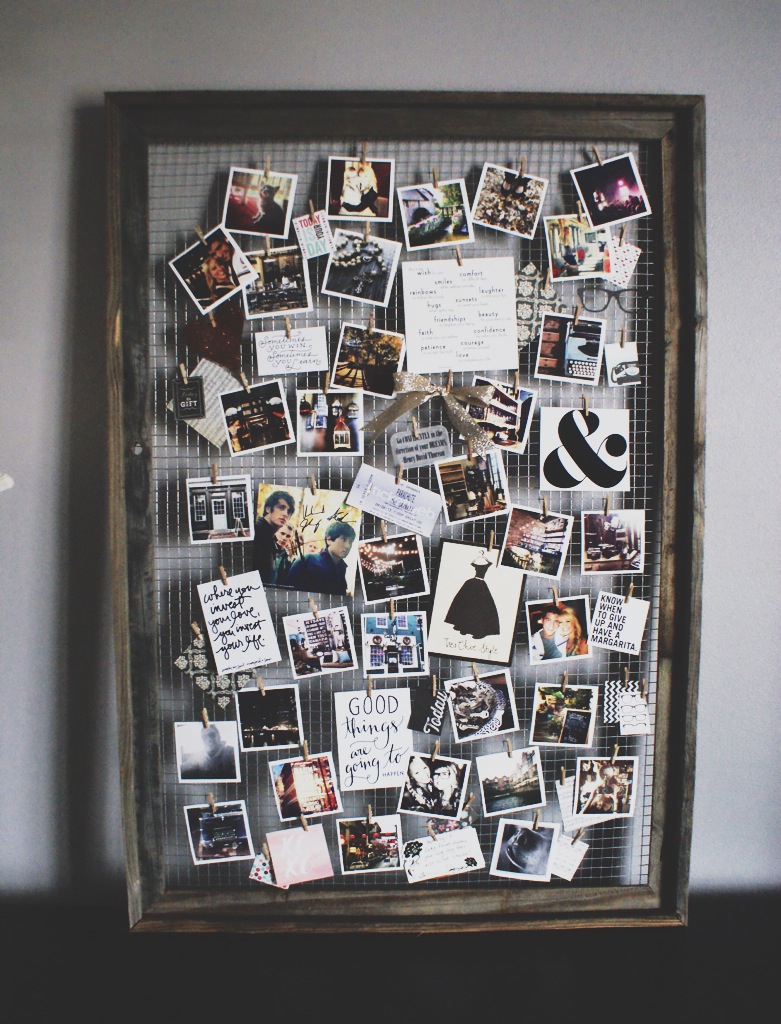
If you have a large photo frame lying around then put it to good use by turning it into an inspiration or mood board. Simply remove the glass from the frame and measure enough aluminum grid mesh to cover the entire length of the frame. Make sure to choose the aluminum mesh with medium-sized square holes. Then just staple the mesh into place.
Finally, with your mini clothespins, you can hang whatever you like onto the board such as photos, motivational quotes, tickets, cards, and the likes. Personalize it any way you want and turn to it whenever you need inspiration.
2. Photo Frame
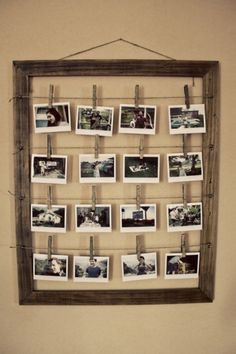
Yes, you can upcycle an old photo frame into an even better photo frame. If you’re a fan of instax photos, then here’s one creative way to display them.
Remove the glass and mat of your photo frame, leaving only the frame. Using some thumb tacks or nails, hang some twine horizontally across the frame. You can put multiple lengths of twine depending on the size of your frame. Finally, just use some clothespins to hang your instax photos on the twine. You can repaint the frame beforehand if you want.
3. Chalkboard
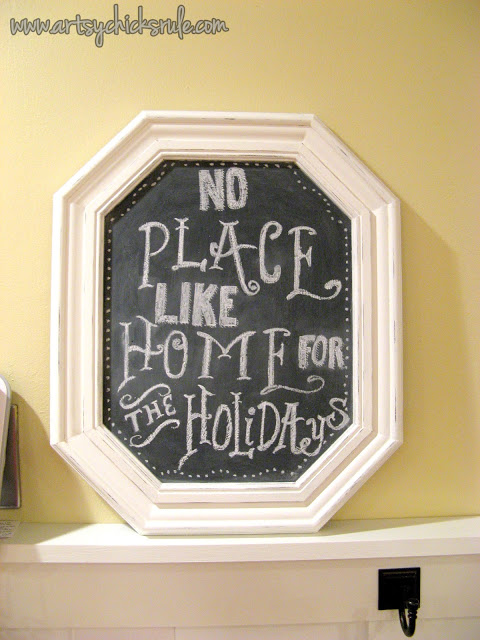
Another good use for old picture frames is by turning them into a chalkboard. Doing this takes nothing more than simply painting chalkboard paint directly onto the glass of the picture frame. To avoid getting chalkboard paint all over the frame, use painter’s tape on the inside edges of the frame. Then just peel the tape off slowly after the paint has completely dried. Also, make sure you clean the glass before painting. You’ll need about 3-4 coats of chalkboard paint, depending on the thickness. Although it may not seem like the paint’s going to stick on the glass after the first coat, it will after a few more coats.
After painting, prep the board by rubbing a piece of chalk all over it then just wipe it off with paper towel. You can repaint the frame beforehand if you want.
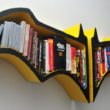
4. Shelves
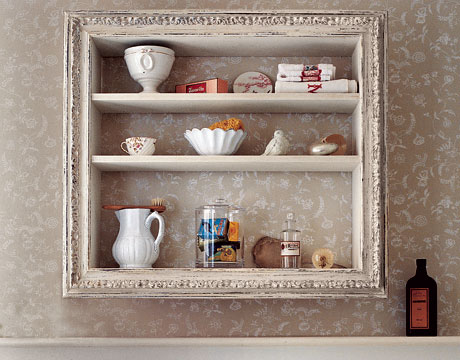
Add a touch of classic vintage look onto your walls by making a multi-purpose shelf out of a picture frame and wooden box. First, remove the back of an old wine crate or wooden box. If your box is big enough for shelves then fit some shelves inside it. Afterwards, fasten a gilded frame onto the front. Screw the unit onto the walls or hang it on some heavy-duty hooks.
You can use this as a display shelf, or as a bookshelf, or you can put some bathroom supplies in it. Paint the wooden box, the shelves, and the frame beforehand for a more appealing look.
5. Jewelry Organizer
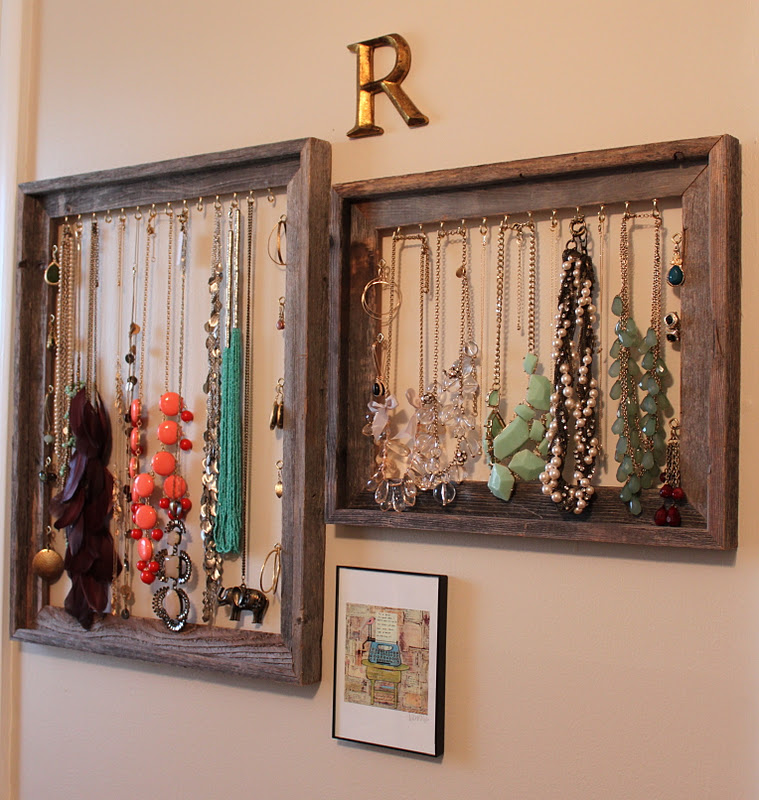
If you’re still having trouble with your jewelries no matter how many times you’ve tried to organize them, then try making a picture frame jewelry organizer. To do this, you’ll just need the frame from the picture frame, and some hooks.
Simply screw on the hooks side by side with each other on the base of the top ledge of the frame. You can do this by hand though expect your fingers to get sore afterwards. Make sure the hooks are secure and can hold the weight of your jewelry. Hang the frame on your wall for easy access and it’s good to go.