


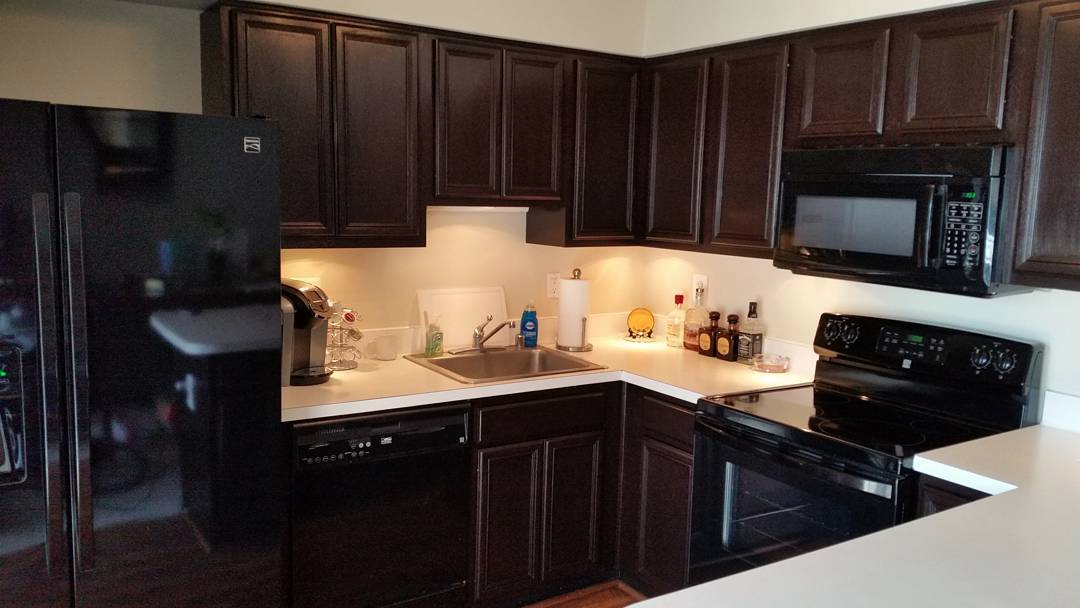
One of the obstacles you’ll have to face in your home is your kitchen cabinets. Because they are affixed to the kitchen counter, they are not easily and inexpensively replaced. And since the kitchen is usually where the mess and stains occur, the cabinets in your kitchen can easily get worn out. One solution to revamp your kitchen cabinets is by gel staining them. This way, they’ll look and feel brand new, and the darker aftermath colour keeps it from getting worn out too soon. You’ll need patience though since gel staining cabinets requires time but you’ll surely find the outcome worth the effort. Here’s how to gel stain cabinets.
Step 1. Remove the Hinges and Knobs
The first step in gel staining your cabinets is to remove the doors and knobs through the hinges. This will make the following steps easier and the cabinet parts more manageable. This will also make drying more thorough.
Step 2. Clean
Clean each part of the removed cabinet thoroughly using soap and water, removing dust and stains. When the cabinet is cleaned thoroughly, let the parts dry overnight. It will be easier to perform the next steps when the cabinet is dry.
Step 3. Sanding
For the gel to adhere to the cabinet, sanding is necessary. An electric sander can be used or a 100- to 120- grit sandpaper. It is important to remember to work in the direction of the sand grain. Sand the wood evenly but not sanding all the way through. Make sure to sand the edges and sides of the wood.
Step 4. Wipe
To remove the dust left behind by sanding, wipe it with either microfiber cloth, tack cloth or wet wipes. Do not use wet cloth when wiping, you need the wood as dry as possible.
Step 5. Extra Measure
To prevent from staining other parts of the kitchen, the counter tops or others, it might be better to cover them with plastic and painter’s tape to the edges you want to keep from being stained.
Step 6. Glove then Sock
You will need a Disposable Vinyl or Nitrile glove and a long, thick sock. These are used to apply the gel stain in. A long sock is advised to protect your arm from being stained as well. First wear the Disposable glove and then the sock. Do not use Latex glove as the stain will eat through the glove.
Step 7. Start Staining
If you are doing this indoors, it is advisable to open a window and turn on a fan. The fumes from the stain are pretty strong. As soon as ventilation is proper, you can start staining the woods. The trick is to apply even, thin coats and a little goes a long way. Prevent clumps of gel and even the coats properly. Apply small amounts at a time, this is to avoid too much gel stain and applying uneven coats.
Step 8. Wipe It Off
After applying the first coat, wipe the excess using a dry cloth before it starts to clump up. Wipe in the direction of the wood for a smooth texture.
Step 9. Dry
Let the woods dry for 8 hours, for a thorough drying, it might be better to let it dry overnight. Some brands of gel stain require a specific amount of time to dry, follow that. It is better to dry them in a well-ventilated area or under a fan.
Step 10. More Coats
Apply a second coat following steps 8 to 10 still using the same materials and method. The more coats applied, the more drying hours is needed. Second coat should be left for 24 hours to dry, third coat requires another 24 hours and a fourth coat may require another 24 or 48 hours to dry. Thorough drying can make the staining more furnished. The more coats applied, the darker the furniture will be. You can stop at the second coat if it is the color you desire. Do not sand the wood in between coats.
Step 11. Clear Finish
Apply Polyacrylic or any clear finish you have after the final coat of gel stain, this is to protect the gel stain and the wood. A different Vinyl Glove and sock is used in this step. Let the clear finish dry for a minimum of 24 hours.
Step 12. Reassemble
Reassemble the cabinet, screw in the knobs and the hinges in their proper placement as soon as everything is dry.