
You should know by now that taking care of your computer is not limited to protecting it from software threats like viruses and malwares—protecting your computer extends into the physical world. In fact, you’re more likely to lose your computer from physical damages than from software threats. Because of the electromagnetism in the electronic devices inside your PC, the negatively charged dust particles are pulled towards it, causing dusts and hair to clump together and accumulate in your computer’s electronic components. This will block airflow, disrupting your computer’s ability to cool down, leading to overheating, making your computer run very slowly. In the worst case scenarios, if these gunks are left alone, your PC’s motherboard and power supply units can fail entirely. Keep your PC running at its optimum performance by cleaning all of its hardware components. Here’s how to physically clean your PC.
You’ll need:
- A can of compressed air
- Q-tips
- Distilled water
- White vinegar
- Isopropyl rubbing alcohol
- Microfiber cloth
- Scotch tape
Cleaning the PC case
- Disconnect. Start by completely disconnecting every cord and cable from the PC case, including the power cable, USB peripherals, audio cords, etc. Remember to turn off your PC before doing so or else your data might get corrupted and you might risk grounding yourself when you touch the metallic parts and the power supply.
- Take it outside. You need to work in a well-ventilated, static-free area. Otherwise, all those dust will just settle in the same room and ultimately end up back in your computer.
- Wipe it down. Wipe the entire exterior of the case, including the bottom.
- Remove the components. Remove any removable components, including the dust filters and any big components like graphics card and RAM modules (only if you know how to replace them).
- Clean the dust filters. Wipe off the accumulated dust on the interior of the case and blast the dust filters with a can of compressed air. You can rinse the foam filters under the sink.
- Clean the interior. Wipe the inside of the case first manually. Afterwards, blow it with a can of compressed air to remove more of the trapped dust and dirt in between the remaining components.
- Clean the rest. Clean the graphics card with compressed air, and wipe away any remaining dust on the case with a microfiber cloth slightly dampened with isopropyl alcohol. Dampen some Q-tips with the alcohol as well to clean any nooks and crannies you might have missed.
- Replace. Put all the components back in its place and close up the PC case and bring it inside.
Cleaning the monitor
Use a clean, dry microfiber cloth to wipe the entire monitor down. Never use a spray cleaner on your monitor or anything too wet. Use a Q-tip for small, hard to reach areas. Make sure that the connection between the monitor and power or HDMI cords remains clean and unclogged.
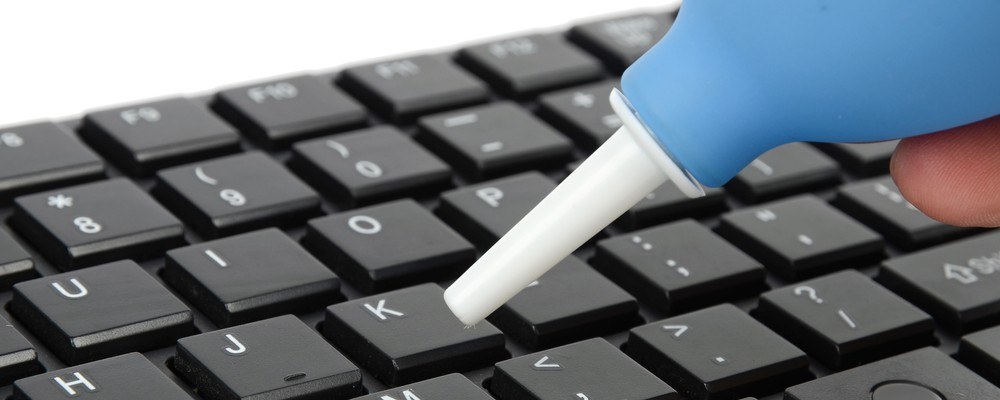
Cleaning the keyboard
- Turn it upside down. Turn the keyboard upside down and gently shake it to loosen the crumbs and dust between the keys.
- Blow air. Blow a can of compressed air into and around the keys.
- Use a Q-tip. Dampen a Q-tip with alcohol but make sure it’s not wet. Run the cotton in between the keys and afterwards, on top of the keys.
Do the same with laptop keyboards but make sure you take extra care since laptops are more fragile.
Cleaning the mouse
- Wipe it down. Dampen a cloth with alcohol and use it to wipe the entire exterior of the mouse. Include the bottom of the mouse, especially the rubber feet that tends to get dirty as you move it around.
- Use a Q-tip. Dampen a Q-tip with alcohol and use it to clean in between the buttons and wheel, turning the wheel as you go. Use it to clean the LED as well.
Cleaning a laptop
Use a can of compressed air to blow dust out of the vents on the side and bottom of your laptop. You can also open the case of the laptop and blow it with air if you know how to reassemble it.