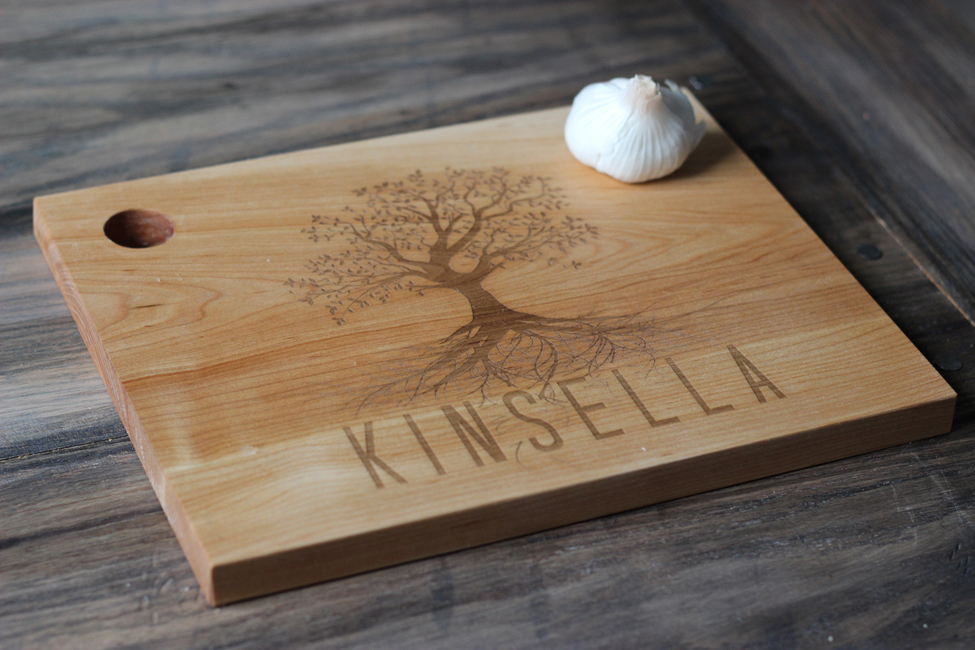
Just as the saying goes, “a picture is worth a thousand words.” Photos are very valuable since they capture important moments in a person’s life. Although every moment is immediately gone by the second, pictures have the power to keep certain moments stuck in time and allow you to bring it along with you as you go on through the moments. Despite having the technology to capture images and store it digitally, nothing beats printed out pictures which you can display and keep within your view. One great way to display you favourite photo is by transferring it to a slab of wood. With simple materials, you can make an image seem as if it has been printed directly onto the wood, giving it a unique appearance which you can further distress or texturize to make it look even more magical. You can make one as a gift or you can make one for yourself. Here’s how to transfer an image to wood using laser printer.
You’ll need:
- A digital image of the photo you want
- Simple or basic photo-editing program
- Laser printer
- Light-colored wood piece or panel
- Any blunt edge (e.g. bone folder)
- Mod Podge
- Matte gel medium
- 2 different brushes (bristles or foam)
- Towel rag
- Scissors

Methods:
- Reverse the photo. Open the photo file you want to transfer in any photo-editing program. Reverse the image so that you’ll have the mirror image of your photo. This way, when you lay it down on the wood to transfer it, it will be oriented the right way when it’s finished. Also, make sure that your photo is big enough for your wood panel and that it’s set at 300 DPI so it won’t be printed out all pixelated.
- Print the photo. Print the photo out using laser printer on a fairly thin paper to make it easier to rub off the paper fibers later on. You can print out an extra just in case something goes wrong before you even get the chance to transfer the photo.
- Cut it out. Cut the laser print of your photo according to the size you want and the size of your wood panel.
- Cover with gel. Take one of the brushes then put a thin layer of matte gel medium on top of the photo. Make sure you cover your work surface with some scrap paper to keep the gel medium form getting all over the place.
- Transfer. Here’s the tricky part. Carefully lay the photo face-down on top of the wood piece so that the gel medium is in between the photo and the wood panel. Make sure the photo is set in place straight and just right, the way you want. Once the photo is in place, use a blunt edge such as a bone folder to smooth it out. Wipe off any gel on the edges of your photo as you smooth it out.
- Let it dry. Let the photo transfer sit in a place where it won’t get disturbed and leave it for at least 8 hours. It’s better to start the project in the late afternoon or early evening so you can leave it overnight and continue the next day.
- Soak the photo. Take a towel rag and soak it with water. Squeeze out any excess water and then lay the rag on top of your photo transfer. Press the wet rag down on top of your photo transfer to make sure that the photo transfer is completely soaked.
- Rub. Use the rag or your fingers to rub off the paper fibers in order to reveal your photo underneath. Let it dry in between paper rubbing so you’ll see any fibers that need further rubbing. Using a wet rag will deliver a distressed look as the rag rubs off a bit of the photo while your fingers will deliver a cleaner photo transfer.
- Finish. Let the photo transfer completely dry. If you still see any leftover paper fibers, moisten the transfer a bit and rub it off. To finish, seal the photo transfer with a coat of Mod Podge.


