


Women love to wear accessories to enhance their outfit or to show off their personality. Although there are a lot of places where you can get some unique jewelries, spending money on them isn’t really a good idea especially when you are on a budget. Fortunately, you can make your own jewelries with the right tools and creative ideas while spending less compared to buying accessories. If you are looking for ideas, here are 10 to help you get started.
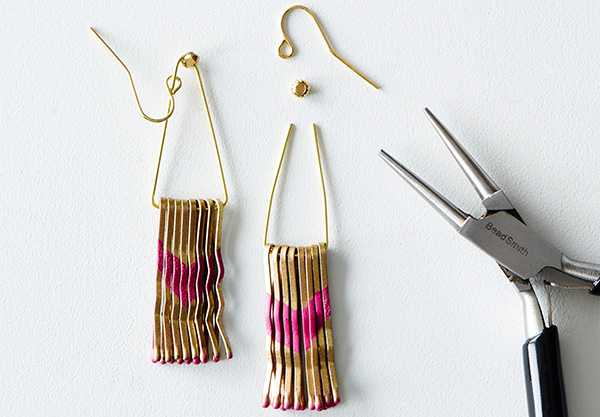
- Bobby pin earrings. Who would have thought that your stack of bobby pins can be transformed into a nice piece of handmade jewelry? You will need hooks, rings, and some paint for this project. All that you have to do is paint the bobby pins with your choice of colors, insert them into the ring and then attach it to the hook and you’re done.
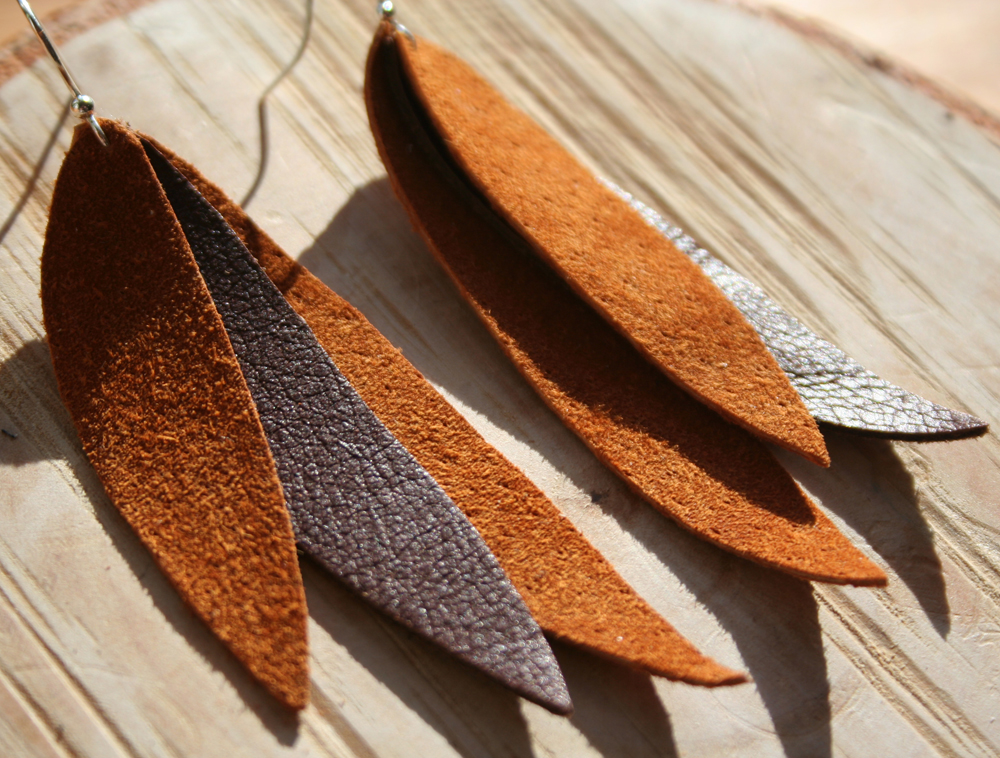
- Leather earrings. Here’s another handmade jewelry that you can do. First, you will need to get some real leather materials. Cut them into shapes that you like. Paint the leather into the color of your choice and let them dry. Add hooks to the top portion of your leather design and secure it in place. You now have a new pair of earrings to sport with your casual attire.
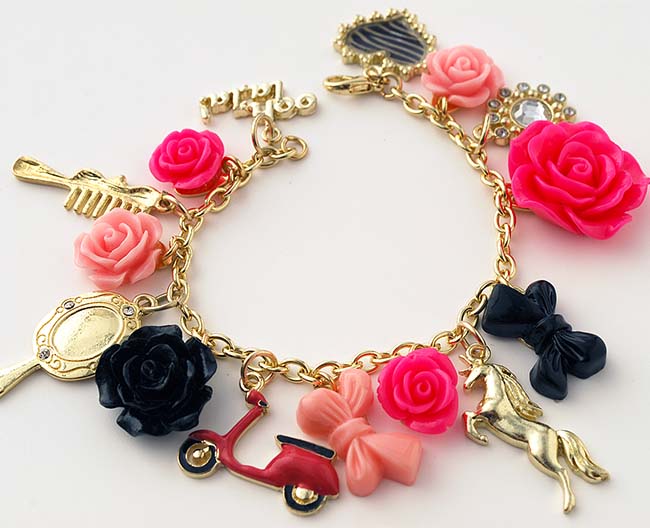
- Charm bracelet. Personalizing your accessories is a good way to show off your taste in fashion. One way to do this is to create your very own charm bracelet. You will need a chain link with clasps, smaller rings to hold the charms, and the charms themselves. The charms can be made out of anything such as stones, old coins, keys, whatever you fancy that you think speaks a lot about your interests or your personality. Add the rings into them before installing on the chain link and voila! You have your very own charm bracelet to show off.
- Personalized cuff bracelet. What’s great about doing DIY handmade jewelries is that you can actually use your old accessories to create something new. One example of this is your cuff bracelet. If your bracelet is looking the worse for wear, you don’t really need to throw it away. What you need are a few colored threads, cloth, leather, or whatever material you want to wrap it with, some heavy duty glue, and other embellishments. Cover the entire bracelet with the material that you like, add other decorations that you like and you’re done.
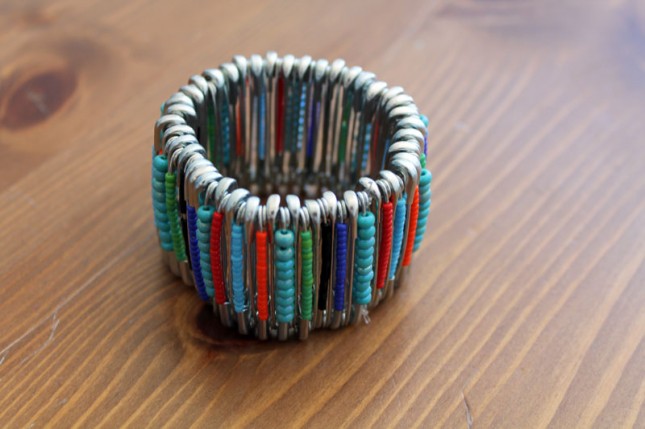
- Safety pin bracelet. Here’s another example of DIY accessories that will require some safety pins, colored beads, and rope or garter. Place the colored beads inside the safety pin and insert the pin in the rope. Secure the safety pin with glue so that it won’t open accidentally. Continue filling the safety pins with the colored bids that you like until you complete your bracelet.
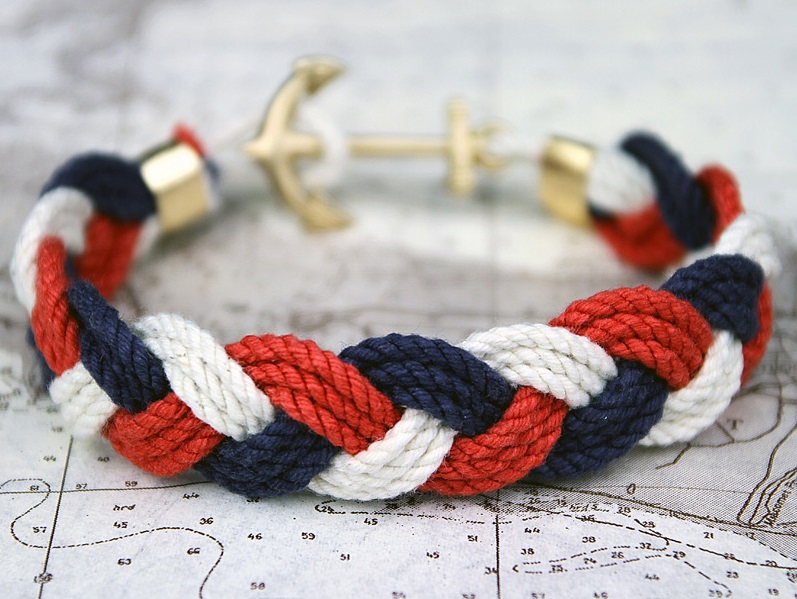
- Braided cord bracelet. If you are looking for a more masculine type of accessories, a braided cord bracelet can do the trick. Just get a colored cord, cut it into your desired length, tape one end of the ropes then start braiding. Once you get the desired length of the braided bracelet, tie the other end so you can wrap it around your wrist.
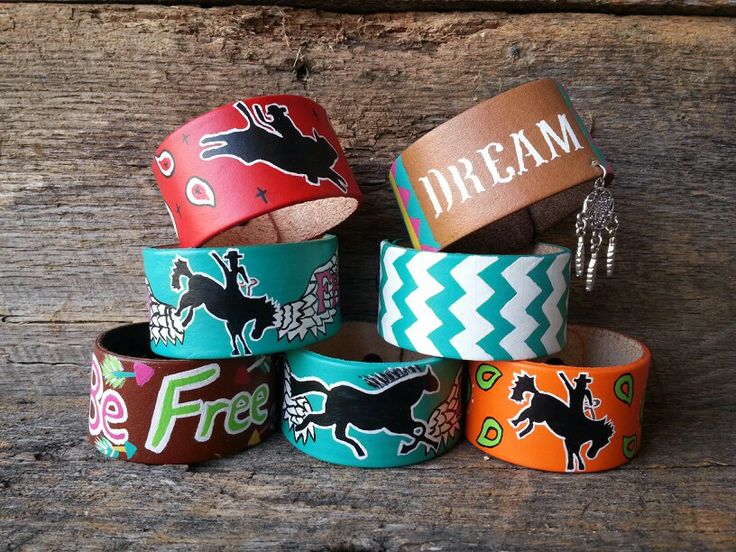
- Painted leather bracelets. For those who are fond of leather, making your own leather bracelets is definitely fun. Just cut the desired length from your leather, paint your design on the surface, and add buttons on each end to secure the bracelet in place.
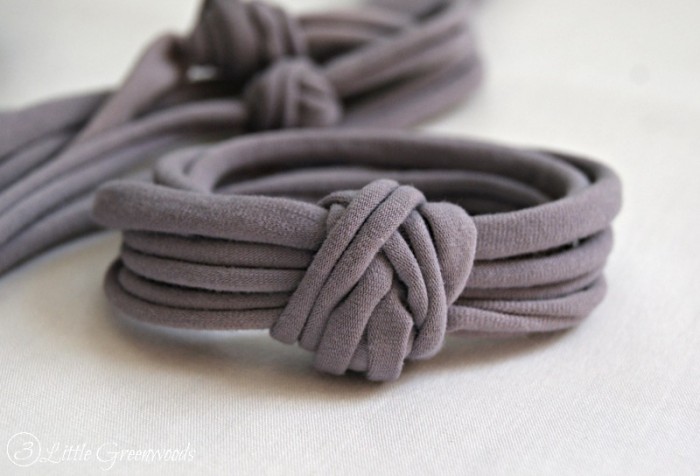
- T-shirt bracelet. How about repurposing your old t-shirts for a fancy accessory? Cut strips of different sizes from your t-shirt. The thinner ones can be braided with the chunkier ones wrapping them together. You can add small decorative stones to make it fancy.
- Spraypainted necklace. Sometimes the simplest trick can make an old accessory look like new. If you have an old necklace that you no longer use, spray paint it with the color of your choosing. Let it dry first before using.

- Crisscross bead bracelet. You will need some strings and bead bracelets to get this done. Create a loop on one end of the two strings then insert them into the bead bracelet in opposite direction, keep on repeating this step until you reach the desired length and tie the other end. You can use a button or clasp whichever you prefer.