


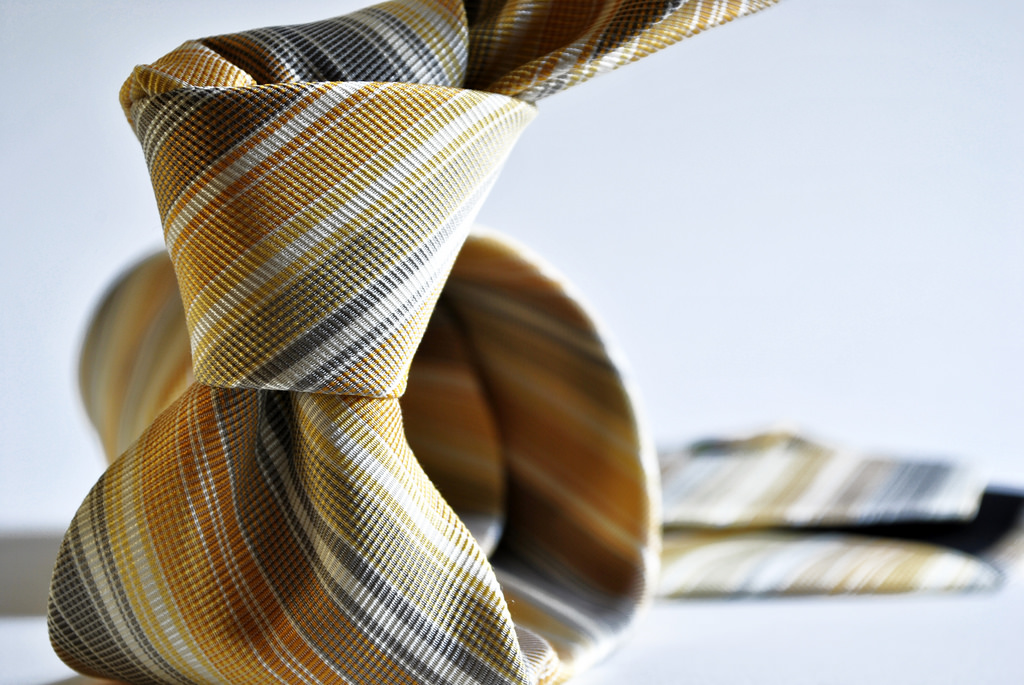
It’s very important for men to know how to tie a tie knot. You never know when a special event would come up that would require you to bring out your suit and tie. Although men usually have their go-to tie knot, there are actually different ways you can tie a tie so it’ll be more fitting for the event you’re attending. The way you tie your tie can imply how sophisticated you are and can make you look elegant and stylish. Here are three ways to tie a necktie so you can have more choices for edging up your style.
- Simple Tie Knot
Also known as the Oriental, Petit Noeud, and Kent knot, the Simple Knot, as the name suggests, is very simple and easy to learn since it contains the fewest possible steps to tie a necktie. However, because it is not self-releasing, it can be a little difficult to untie. This knot works best for tall guys who need the extra length.
Steps:
- Begin by placing the tie on your neck with its backside facing away from you. The wide end should be on the right and the small end on the left. The tip of the small end should rest slightly above your bellybutton. Only move the wide end in tying the knot.
- Move the wide end to the left under the small end.
- Move the wide end to the right over the small end.
- Move the wide end up into the neck loop from underneath.
- Insert the wide end into the loop you just made in the front.
- Pull down to tighten and slide the knot up to adjust.
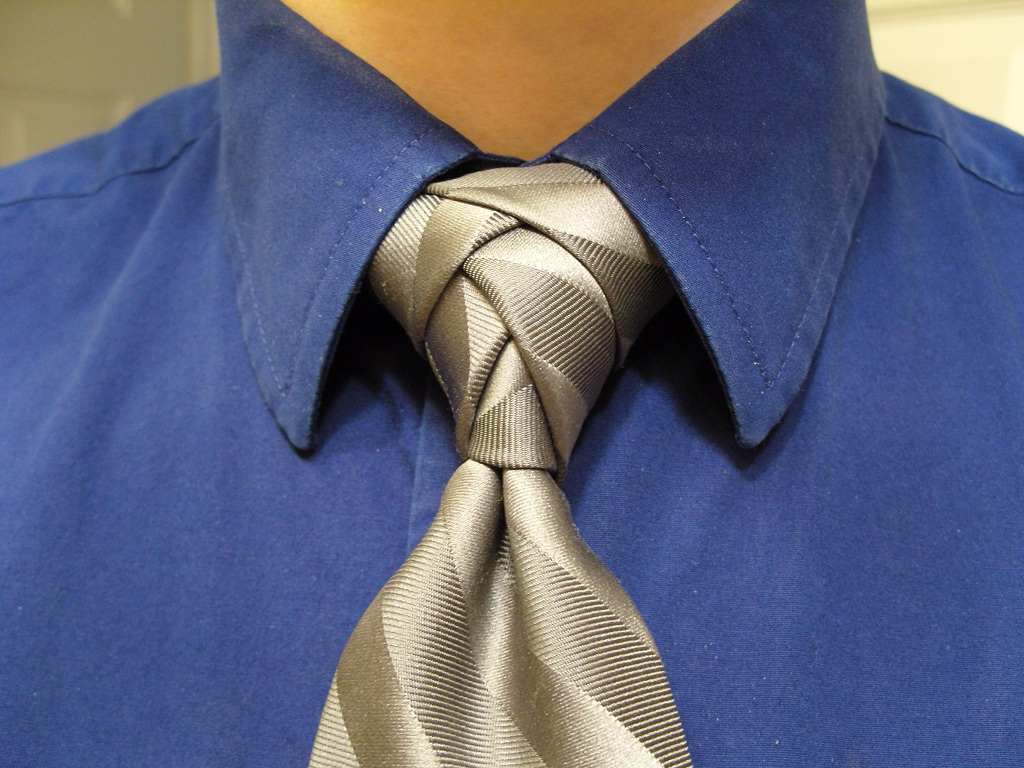
- Eldredge Knot
The Eldredge Knot was invented by Jeffrey Eldredge in 2007. The knot is large and the small end is hidden, leaving only the wide end exposed. It creates a fishtail braid-like effect is quite difficult to achieve.
Steps:
- Place the tie on your neck with the small end on the right and the wide end on the left. The tip of the wide end should be just at the top of your belt buckle. Only the small end should be moved in tying the knot.
- To the left, over the wide end.
- To the right, under the wide end.
- Towards the neck loop, upward.
- To the left, through the neck loop.
- To the right, across the front then up into the neck loop from underneath.
- To the left, downwards and around the back of the wide end to the right, keeping it loose.
- To the left, across the front and through the loop made in the previous step.
- Pull the small end to the left to tighten.
- Upwards, to the center towards the neck loop then down through the neck loop to the left.
- Upwards, to the center towards the neck loop then down through the neck loop to the right, keeping it loose.
- To the left, across the front and through the loop made in the previous step.
- Pull the small end to the left to tighten.
- Tuck the remaining small end behind the neck loop on the left side.

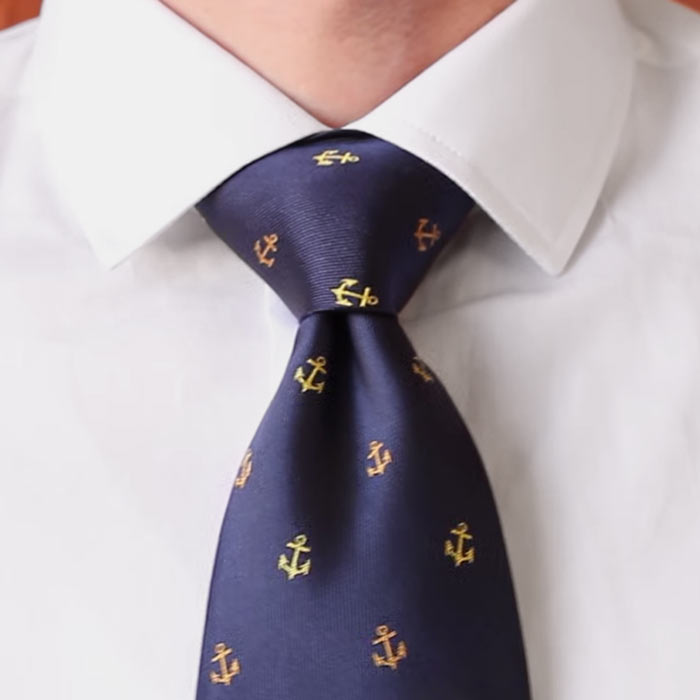
- Pratt Knott
Also called the Shelby Knot, the Pratt Knot is very versatile and elegant, perfect for a wide variety of events ranging from a job interview to a wedding.
Steps:
- Begin by placing the tie around your neck with its backside facing away from you. The wide end should be on the right and the small end on the left. The tip of the small end should rest slightly above your bellybutton. Only move the wide end in tying the knot.
- Under the small end to the left.
- Towards the neck loop, up to the center.
- Through the neck loop, down to the left.
- To the right, across the small end.
- Into the neck loop, upwards from underneath.
- Down the loop in the front.
- Pull down the wide end to tighten.