


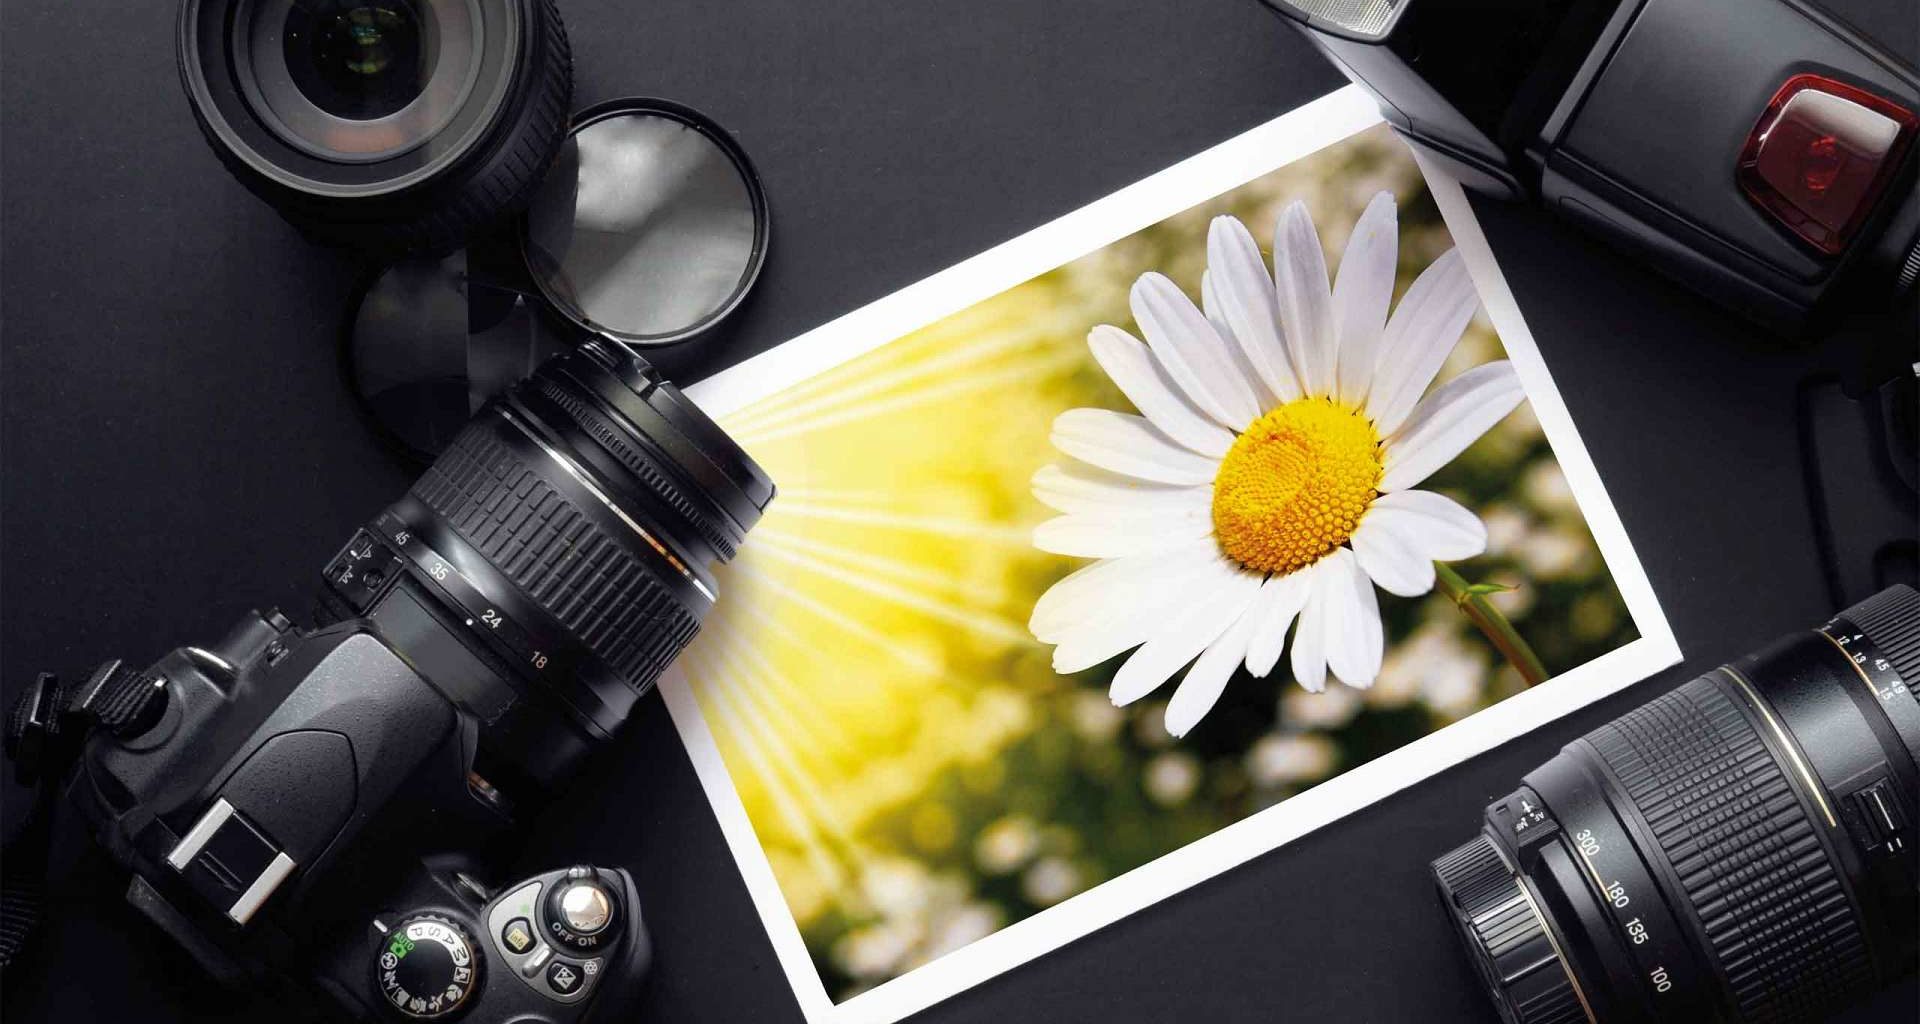
Photography has evolved a lot since technology began advancing. You no longer need negatives in order to print out photos and you no longer have to worry about running out of film. Today, digital photography is the most common way to capture moments through pictures and it comes with a handful of features to give your photo better results. Although not everyone is as concerned about digital photography specs as others, there are those who prefer higher photo quality and who want their photos to be considered as art. If you’re a beginner at digital photography, you might find the confusing camera controls and customizations quite daunting. To help you cut through some of the confusion, here are five digital photography tips so you can quickly take better photos.
Tip #1: Compose in Thirds
Many digital cameras come with a feature that allows you to open up the grid lines where there’ll be two horizontal and two vertical lines running across the frame to form nine even squares. To compose in thirds, instead of having the center square as the focal point, place the subject on the vertical line on either side of the center. This way, the photograph will let the eyes of the viewer wander the frame to create a more interesting and aesthetically composed photo.
Tip #2: Experiment with the Settings
DSLRs, in particular, come with a wide range of settings and customisations. On your free time, try out different settings to see how they can affect the outcome of your photos. You can test which aperture or focal length works best with your lens, or which ISO and white balance options gives the best result at a particular setting, or you can test the dynamic range of your camera so you’ll know the limitations of its sensors.
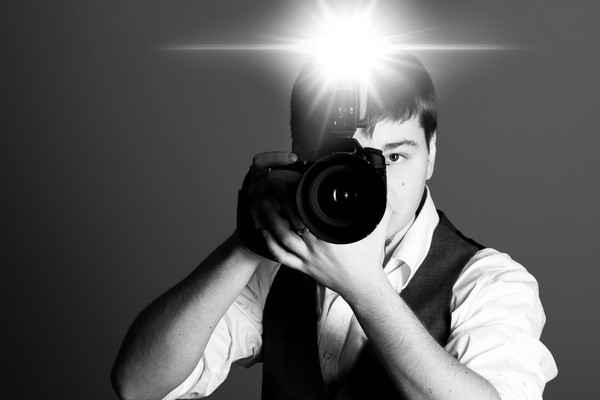
Tip #3: Use the Flash Wisely
Improper use of the flash can ruin an otherwise decent photo. It can make the subjects look unnatural and it can make their eyes seem bizarre. Only use the flash when it’s absolutely necessary. Instead, rely on artificial or natural lighting as well as reflectors to get the right amount of light. If you have to use the flash, back up a bit and zoom in on the subject until you get the proper framing. Many cameras also allow you to adjust the power of the flash so you can get a better balance to the flash-assisted photo.
Tip #4: Avoid Camera Shake
Many people cannot control the shakiness of their hands and the more they try to keep it still, the more their hands don’t cooperate. This is a huge problem for aspiring photographers wherein bringing a tripod or monopod everywhere is not an option. The key lies in how you hold the camera. You have to use both hands, one around the body and one around the lens. Hold the camera close to your body for full support. Additionally, make sure that the shutter speed matches the focal length of the lens. For instance, a 100mm lens should have a shutter speed no less than 1/100th of a second.
Tip #5: Check the White Balance
Different types of lighting cast different types of colour. Sunlight, for instance, is blue, tungsten lighting is yellow, and fluorescent is somewhat green. The white balance is responsible for adjusting the colour in your photos so that they come out looking natural. Most cameras have a white balance that is set to automatically adjust based on the setting you’re in and what type of lighting you’re shooting in. The problem with an automatic white balance is that if you’re under mixed lighting, your camera may have a hard time adjusting and figuring things out. Thus, your photo can come out looking unnaturally colored. To prevent this, manually adjust the white balance to get a better looking photo.