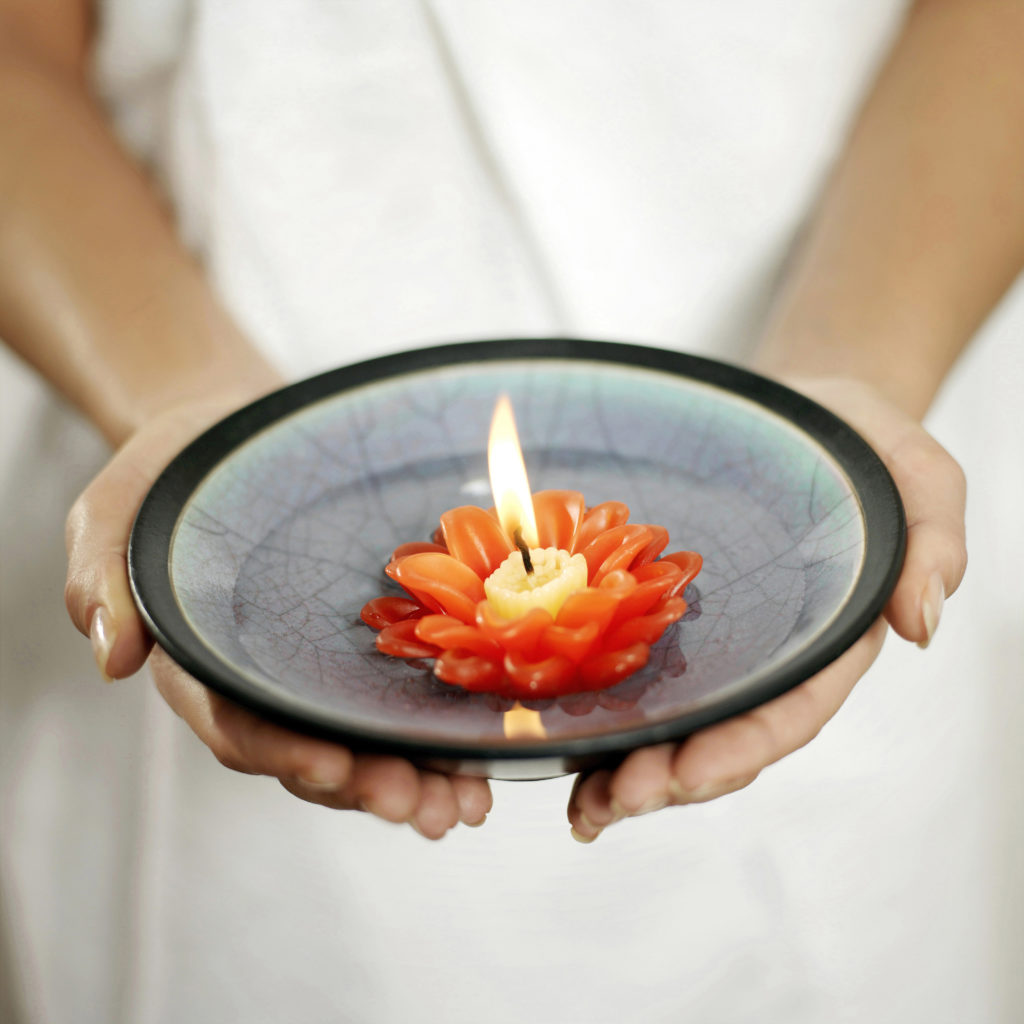
Candles are often the go to decoration whenever we want additional lighting or to set a mood. Scented candles are flying off the shelves because not only do they smell nice and provide warmth, they also make you feel calm and relaxed. The good news is that you don’t really have to buy scented candles all the time especially when it’s easy to make your own candles. All it takes is time and the right ingredients and you’re all set.
Here’s what you need:
- Pre-waxed candle wicks
- Candle color block or non-toxic crayons
- Glass container
- Chopsticks or skewers
- Scissors
- Wax flakes
- Containers for your candles
- Essential oils
- Sauce pan
- Tape
- Stove
Make sure that your glass container is clean. Any regular dish soap will do as long as you wash the glass thoroughly and that you dry them afterwards.
To start making your candle, the first step is to set your candlewicks on the containers that you are going to use. The metal piece should be placed at the bottom of the container with the tops held up by your chopsticks or skewers. Tape the chopsticks on the container so your candlewick won’t move.
The second step is to measure the wax flakes that you are going to use. Now that your candle containers are prepared, it is time to make the candles. As a rule, the amount of wax flakes that you should be using for each container is to double the amount. This way, your candle wax will fill the container properly.
The next step for making your own scented candles is to melt the wax. You can do this by filling half of your saucepan with water. Place the glass container containing your measured wax flakes on the saucepan. See to it that the water level in the saucepan isn’t high enough to cause water to spill inside the glass container when it boils. Your stove should be on medium-high and stir the wax occasionally using your metal spoon.
Naturally, your candle will come out milky white because of the wax flakes that you are using but you can add color to your wax by chopping some non-toxic crayons and adding to the mix. Typically, adding 1/8 inch of red crayon for every 16 fl.oz. of wax will give it a pastel color but you can add more if you really want to have bright colored candles. Just add a little bit at a time until you get the right coloring. Keep in mind though that although the liquid wax will appear brighter, the color becomes lighter once it starts to cool so make the necessary adjustments to get the desired color.
Of course, no scented candle will be complete without its scent so the next step is to add your choice of essential oils. Adding 10 drops for 16 fl.oz. will make your candle moderately scented. And just like when adding color you can add more essential oils if you want to make it stronger by adding a few more drops. You can also mix and match essential oils if you like.
Pour the wax into your container slowly. Make sure that the containers are placed in an area where you don’t need to move them until the wax has cooled for four hours at least. Your candles should be cooled at room temperature to prevent cracks from occurring.
As you can see, this is an easy DIY project that you can do over the weekend. Who knows? You might enjoy the results and start to make more.


