


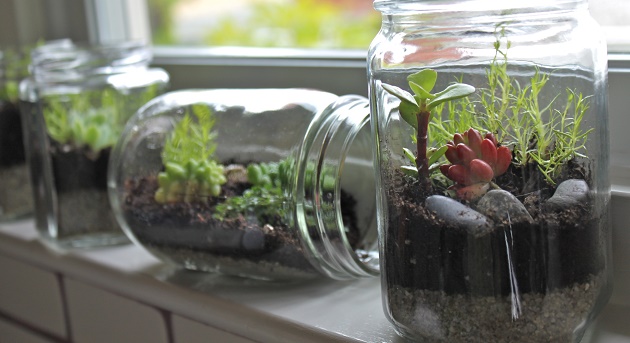
No one can go wrong in taking care of a terrarium even if you’re absolutely nowhere close to being blessed with a green thumb. Terrariums are very easy to make and are incredibly low maintenance. They make great gifts and an even greater centrepiece. If you want to keep some plants inside your home, minus the hassle, then consider making your own terrarium. With just a few materials, and an even fewer maintenance tips, you can design your home with the colour of nature by adding some terrariums around your house.
Materials:
• Glass container
• Small stones (rocks, pebbles, gravel, or the likes)
• Sand
• Activated charcoal
• Soil
• Small plant(s)
• Landscaping accessories
Notes Before You Start:
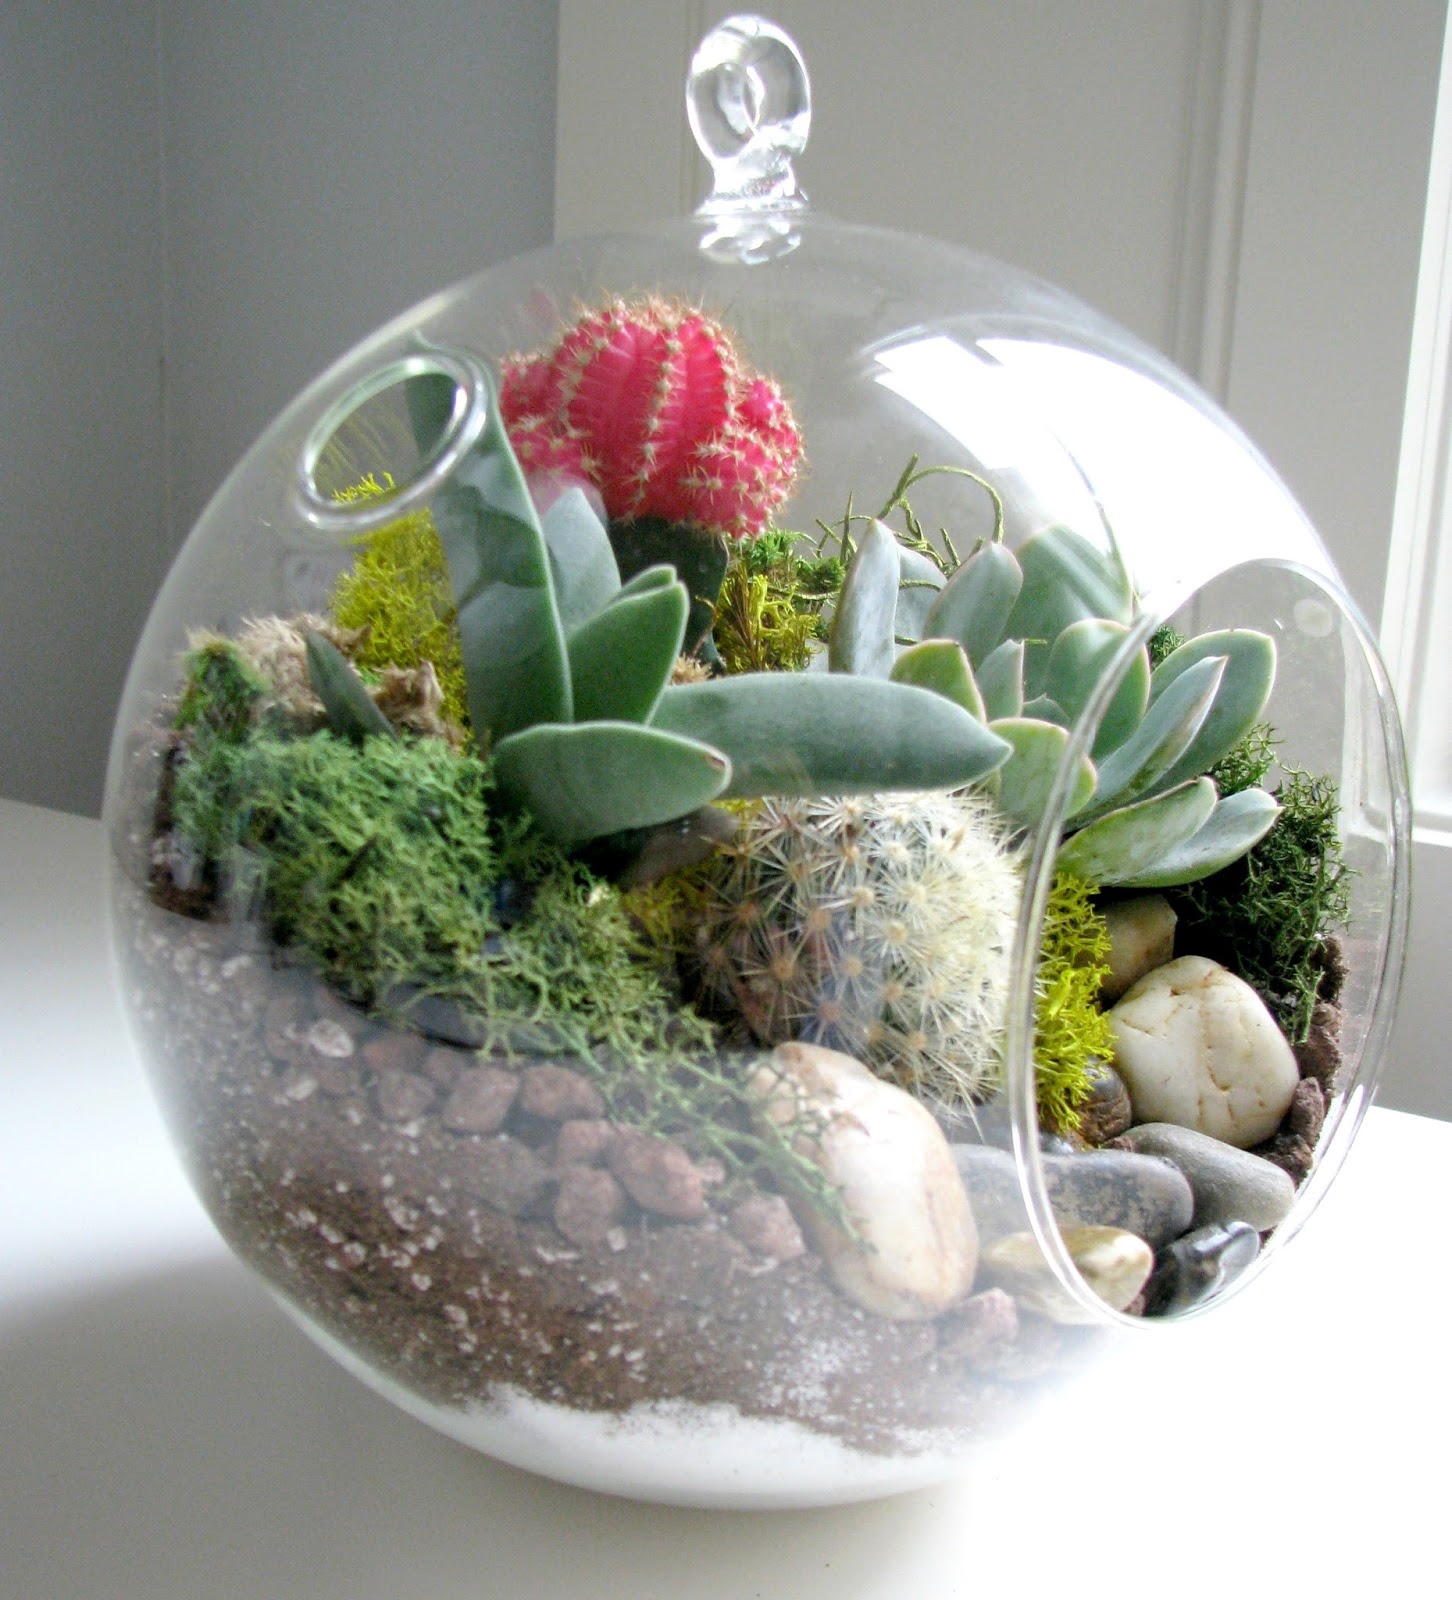
• The glass container you’ll use should have an opening big enough to create your terrarium. Keep in mind that you’ll have to insert your plant(s) through this opening. Whether the glass container should be closed or open depends on the type of plant(s) you’ll use. A closed glass container should be used for plants that thrive in high levels of humidity.
• The plant(s) you’ll use should be just the right size for your container. If you plan on placing multiple plants in a single terrarium, make sure that they have the same environmental needs. For instance, soil, water, and sunlight requirements. Also, your terrarium will face the risk of overcrowding if you don’t choose slow-growing plants.
• You should know which type of soil is best for the plant(s) you chose and use this for your terrarium.
Procedures:
1. Prepare your container. The very first thing you should do is to clean your glass container of any unwanted dirt or grime that may be harmful to your plant. Peel off any price tags or stickers and wash it thoroughly.
2. Add drainage. Begin creating your terrarium by adding a layer of small stones or pebbles at the bottom of your glass container for drainage. This will keep your plants from drowning by allowing the excess water to settle at the bottom of the terrarium. Then, pour a layer of sand over the small stones. The sand will also serve as drainage so you won’t need much since you already have a layer of small stones.
3. Add activated charcoal. Pour in just enough activated charcoal to cover the layer of sand and stones. Adding a layer of charcoal will reduce bacteria and fungi as well as formation of bad odours. Although pouring in a layer of charcoal may be skipped, it is vital to keep a terrarium healthy and “fresh” for a long time.
4. Add soil. Pour in a thick layer of soil on top of the charcoal. Keep note that the soil, charcoal, sand, and stones layers should only make up about 1/3 of the height of your glass container with the soil layer being the thickest. Just make sure that there’s enough soil for the roots of your plant(s) to grow.
5. Prepare your soil and plant. Make some room in the soil for your plants. Using your fingers, small trowel or some other tools, dig a well in the soil of your terrarium to fit your plant(s) in. Then, remove your plant from its pot. Break off any hard soil and brush off the loose soil around its roots. You may also trim the roots if they’re too long.
6. Start planting. Plant your plant in the well in the soil you made and pack the soil gently around its sides. If you’re planting multiple plants, plant from the biggest to smallest plant. Don’t put in too many plants. You can use the empty soil space for landscaping your terrarium instead.
7. Landscaping. Once you’re content with the placing of your plant(s), you can add some accessories to make your terrarium look like a real garden. Add some moss, pebbles, and tiny ornaments to make it look great.
8. Finishing touches. Water your terrarium and wipe off any dirt that got into the sides of the container. Keep it in a warm spot with indirect sunlight to help it flourish. Mist daily and water 1-2 times a week. Prune dead foliage and overgrown plants regularly.