


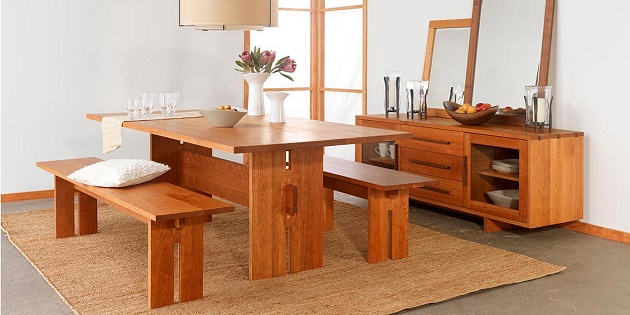
Vintage furniture gives off a sense of elegance and antique charm that brand new furniture simply cannot give. And these days, vintage furniture is one of the most sought after pieces to style the home with an elegant feel.
Legit vintage furniture can be bought almost anywhere. Even old, worn-out furniture from your grandparents’ house can give off that distressed look you’re searching for. However, you don’t need to wait years for the paint in your wood furniture to rub off and finally exude that aged feel. This doesn’t mean you’ll get to abuse your brand new furniture, either. There are many ways to manipulate your wooden furniture into looking like a legit vintage piece without making it seem deliberately done. Here’s a cheap way to distress your wood furniture for a more vintage look.
Step 1. Prepare Your Furniture
Once you’ve chosen the wooden furniture, make sure it’s ready for distressing. Take it out to a place where it’s alright to make a lot of mess.
• If the furniture has been previously painted with a color you don’t like, use a paint stripper to chip off the paint. You can then sand off any stubborn chips of paint that didn’t come off with the paint stripper. Take note that even if you paint over the furniture, the original color will still show once you distress it.
Step 2. Deglosser or Stain
• Deglosser will get rid of that shiny finish in brand new furniture. You can use this if you’re not planning to remove the current paint in your furniture. This allows the new paint you’ll use to adhere better to the piece.
• If you’re working with a bare wood piece, consider adding a stain. The stain will mute any paint you’ll be adding, giving it a more vintage feel.
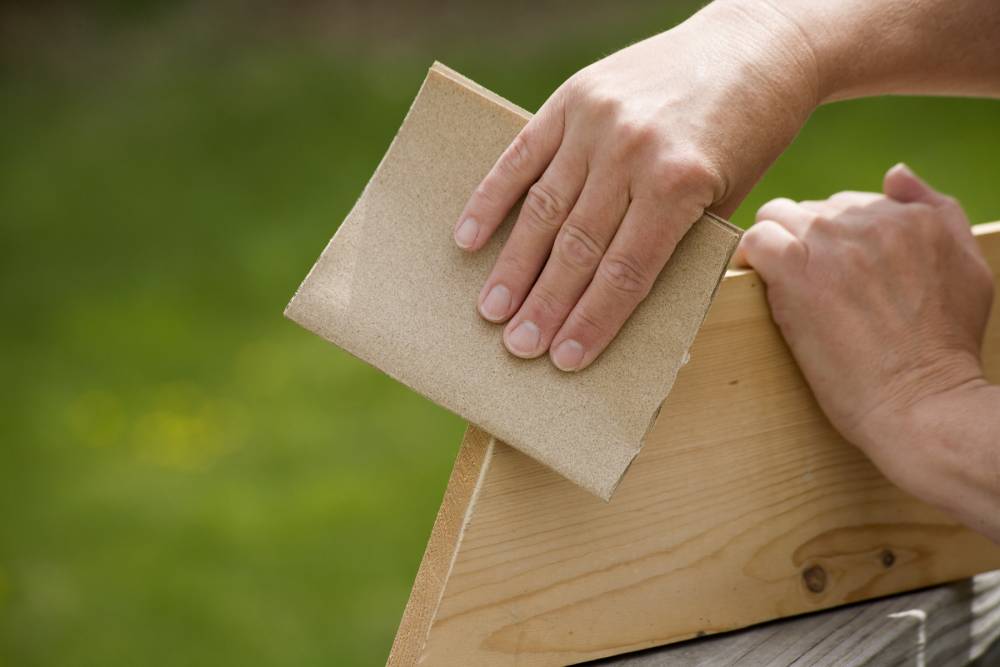
Step 3. Sanding and Priming
If needed, sand your furniture with sandpaper to smoothen out the surface just enough for the paint to adhere better. You can also add a primer to keep the paint from chipping off.
Step 4. Painting
When painting your furniture, you can either use two colors or just one. If you use one color, then this base paint would be the overall color of your furniture and the distressed parts would show the wood itself. On the other hand, you can add another color on top of the base paint and the distressed parts would show the base color. Either one would still result in lovely vintage-like pieces.
• If you decide to go with two colors, you can add some wax or petroleum jelly on the edges and corners of the furniture before painting on the second color. The second paint won’t adhere on the places with wax or petroleum jelly giving your furniture a worn-out look.
• As much as possible, use thin layers of paint. Depending on how you want the finished product to look, it’s okay if the colors are not evenly painted.
Step 5. Aging the Wood
You need to get that brand new look off of your furniture and the best way to do this is to add some signs of use and wear.
• Use sandpaper on corners and edges to strip off some of the overall paint thereby adding some signs of wear in your piece.
• Sharp corners and edges are definite signs of brand new furniture since these are the parts that easily get dinged up especially after moving the furniture around a few times. Rough out the edges with sandpaper or hit the corners of the furniture with hammer. You can also use your other tools to add dents and scratches on the wood.
Step 6. Finishing Touches
Wipe down the entire piece with a clean, dry cloth in order to remove any sand or debris from the wood. You can then add a top coat or low-sheen polyurethane, but this is optional. Your work does not have to look perfect. After all, you’re simulating an old, worn-down, vintage piece.