

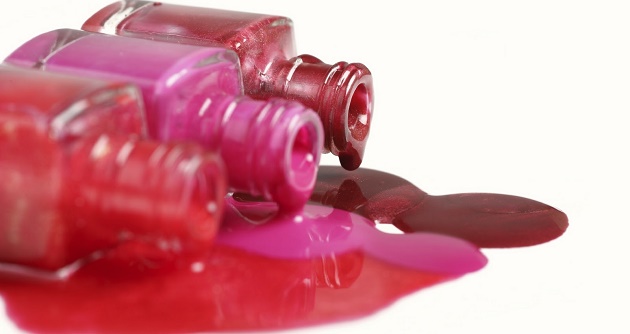
Finding the exact nail polish colour you want is often a hard task even with the numerous colours of nail polish available. The problem usually lies with the shade. It’s hard to find the shade you’re looking for. What’s easy to find is clear nail polish and eyeshadow.
Without a doubt, clear nail polish is in every store where you can find nail polishes for sale. Moreover, eyeshadow comes in numerous shades. There are even eyeshadow palettes devoted to one colour in different shades. These two are enough to make the nail polish that’ll suit your liking. Here is how you can make your own custom colour nail polish.
Materials:
• Eyeshadow or pigment
• Clear nail polish
• Ziploc bag
• Toothpick
• Glitter (optional)
Before You Start:
• You have the option of either using the container of your clear nail polish as the container of your custom colour nail polish or using another container instead. In case of the latter, you’ll need a small container such as an empty nail polish bottle or a loose powder container. Make sure you have a brush to use for your new nail polish as well.
• Take note that the colour of the eyeshadow or pigment you’ll use will be the end colour of your nail polish so make sure you have the right shade and colour you want. However, although all kinds of eyeshadow or pigment work, some brands will mix better than others so the outcome may vary.
Procedures:
1. Make some space. If you plan to use the clear nail polish bottle as the bottle of your custom colour nail polish, make some space to avoid overflowing. Just pour out a small amount of clear nail polish especially if you’re using a relatively brand new one which is still full of the product.
2. Prepare your eyeshadow. If you’re using a solid block eyeshadow, you’ll need to crush it into a fine powder to allow better mixing. Scrape off the eyeshadow from your palette into a Ziploc bag using a butter knife or any object with a blunt end. Better yet, take the entire block of eyeshadow off of your palette and into the Ziploc bag, that is, if you’re alright with losing that particular eyeshadow colour.
3. Crush the eyeshadow. Once you have the eyeshadow inside your Ziploc bag, crush it using any object you want. Just make sure that there are no lumps of eyeshadow left, as it won’t mix into your nail polish well. Continue crushing until you’re left with a fine powder. Otherwise, your nail polish won’t come out smooth on your nails.
4. Transfer to your container. Make a small hole on one of the bottom edges of your Ziploc bag. Use this hole as a funnel to efficiently transfer the crushed eyeshadow into your container, either the clear nail polish container or another one.
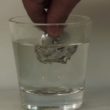
5. Add some clear nail polish. If you used another container instead of transferring the eyeshadow directly to your bottle of clear nail polish, add some clear nail polish. Add about as much clear nail polish as the amount of crushed eyeshadow you have.
6. Mix well. Mix the eyeshadow and clear nail polish well using a toothpick
7. Glitter? You can add some glitter in the mixture if you want. Make sure to mix the glitter well using a toothpick. The glitter will be distinct, unlike your usual glittered polish, since craft glitter has larger-sized grains. You can also just make another glitter polish and use it as a top coat.
8. You’re done! You’ll need two coats of your custom colour nail polish and it might come out matte, depending on the eyeshadow you used, so just top it off with clear nail polish to give it a shine. If the polish dries easily, just keep adding some clear nail polish to make it as good as new. Use it quickly and seal the container to keep it from drying.