


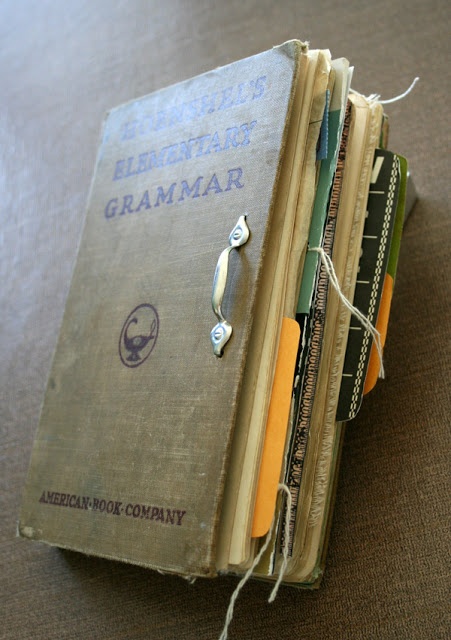
After reading and re-reading some of your old books to the point that it has become worn out, don’t throw it out just yet. There are many ways you can reuse old books—turn it into a secret book compartment, a floating shelf, or even a new journal. Using an old book to make a journal is great if you’re into unique, vintage, antique-looking journals that can blend in with your other books if you don’t want anyone to touch it. It’s very simple to make and there’s no one way to do it. You can even easily customize the journal according to your style and preference. To help you get started, here’s how to turn an old book into a journal.
You’ll need:
- A hard cover book
- 50 pages blank paper
- 1 needle and thread
- 1 push pin
- 1 scissors
- 2 pages heavy weight decorative paper
- Double-sided adhesive tape or glue gun
- 1 ruler
- 1 glue stick
- 1 sheet of thin cardboard
Procedures:
- Make the pages. To make the pages of your new journal, gather the 50 blank papers and separate them into groups of 10. Loosely fold each group in half, making sure that the edges and the corners align. If you want to add more papers or remove some then do it now. Check if the pages are the right height for the book. If not, trim off an inch or so using a sharp pair of scissors or paper-cutter.
- Punch holes and sew. Align a ruler next to the crease formed from folding the papers in half. Using a push pin, punch 6 holes down this crease. Sew the pages together in the holes you just made using a needle and thread. Embroidery thread works best for this because it is thicker but regular thread will do. Afterwards, tie the ends into a tight knot and trim the excess off. Repeat this process to the other groups of folded papers. Make sure you keep a consistent distance between each punched hole for each group of paper for a clean finish.
- Prepare the pages. Cut the cardboard into the height and width of the book’s spine. Make two of these. Set one aside as this will be the backbone of your pages. Take the other piece and divide it longitudinally into 5. For each division, make 6 holes down using the push pin in the same distance as the holes in the blank pages. Sew the pages into these holes. Start with the first group of papers and work your way to the right until all pages are secured in the cardboard. Make sure the pages are sewn tight.
- Prepare the book. Using a pair of sharp scissors or an X-Acto knife, carefully remove the old pages of the book. Make sure you don’t accidentally tear the cover of the book as you remove the pages from the spine.
- Attach the pages. Take the single cardboard strip and attach it to the spine of the book using either a glue gun or a double-sided adhesive tape. Then, do the same with the cardboard piece with the sewn pages. Press it down to the spine to make sure everything’s secure.
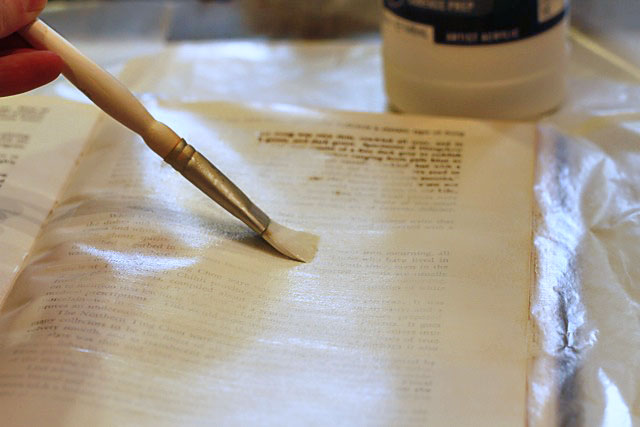
- Finishing touches. To finish the journal, you need to seal the pages into the book. Take a sheet of paper with heavier weight, such as decorative paper, and glue it from the inside of the front cover of the book to the very first blank page in your journal. Use a glue stick for cleaner adhesion. Do the same with the very last blank page of your journal and the inside of the back cover of the book. Finally, cover the inside of the front and back covers of the book with any fancy, decorative paper of your choice. Cut any paper that extends beyond the pages.