


If you are a bibliophile then chances are, you always have a book with you. Whether it’s for leisure or a required reading, carrying a book (that you actually read), is perhaps one of the best things you could ever have to keep your mind sharp and interesting.
For the fashionista booklovers, here is the perfect way to keep your literature near you without compromising your style. Check out some of the old books you have with you that you would be able to part with and convert it into a stylish and chic clutch.
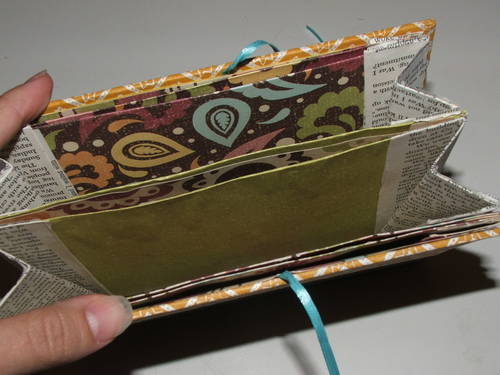
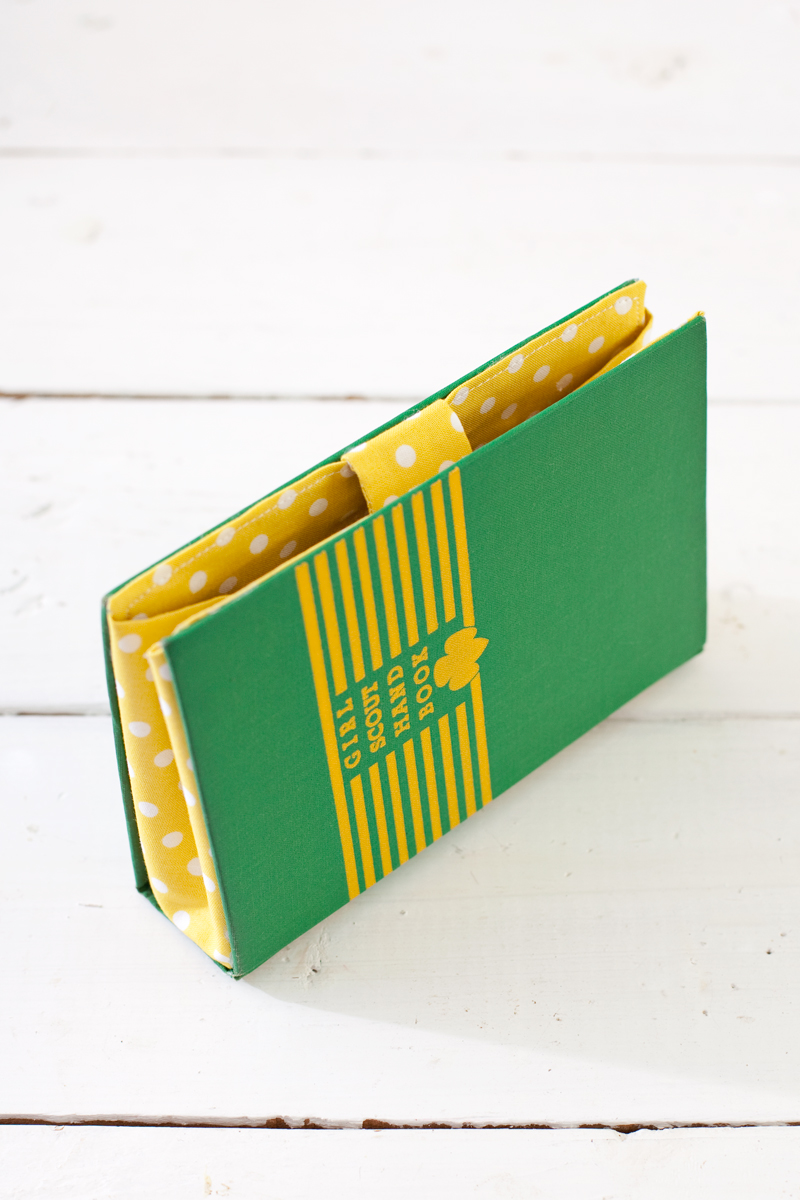
Not only is it functional, quirky and very unique, but having a book purse could also be the best representation of your reading personality. You get to be a bookworm and style-savvy with one clever accessory.
If you’re new with the DIY experience, no need to worry. This project is quite easy although it would require that you do a bit of sewing to secure your purse. In any case, that part could be done with the help of your own sewing machine or a friend who knows how. This do-it-yourself clutch idea could be easily done in just a few hours if you have the right materials, patience and of course, beginner to average sewing skills.
For this project, you would need the following:
• Book in hard cover (at least 1.5” thick and one you would not mind letting go of)
• Fabric for lining
• Magnetic snap kit
• Heavy weight interface
• X-Acto blade
• Scissors
• Glue gun
• Marker
• Iron
• Sewing machine
Now that you have all these prepared, it’s time to start with your new purse!
Step 1: After you are done with the difficult part of choosing which book to convert, you now start with the painful step of removing the pages from the cover. With the use of the X-Acto blade, carefully separate the pages from the hard cover and binding.

Step 2: Get the fabric and cut a piece the size of your book cover with at least a .75” allowance.
Step 3: Fold down the edges so that you end up with a piece of fabric that’s just ever so slightly smaller than your cover. Iron down the edges so that it would stay in place.
Step 4: Get the interface and cut a small rectangular piece of it. Once done, stitch it on the edge of the fabric where you would attach the magnetic snap.
Step 5: Place the snap back on the side of the interface. Make sure that an allowance of .5” is given starting from the edge of the rectangle.
Step 6: Make a slit in the fabric by cutting through the snap back with the use of the X-acto blade.
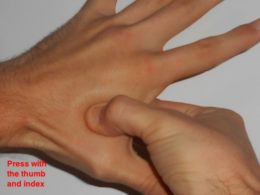
Step 7: Secure the snap back on the interface by putting its arms through the cuts in the fabric. Lock it down by bending the arms. Make sure that the snap is on the correct side of the fabric and not the other way around.
Step 8: With the use of a sewing machine, secure the rectangular interface around .25” from the edges. If you do not have a machine, you can sew it manually. The look might be less polished, however, it would achieve the same purpose.
Step 9: Create the snap flap by drawing the shape of the snap back. Just allot at least .75” allowance on the sites. Make two cut-outs of this shape from the fabric.
Step 10: Cut out an interface with the same shape as the fabric cut-out. Once done, sew it on the wrong side of one of the fabric cut-outs, leave a .25” allowance from the edge.
Step 11: Place the snap back on it and again, slice through the fabric with the use of the X-Acto blade.
Step 12: Place the arms of the snap front through the snap back. Check to make sure that the snap front is on the right side of the fabric while the snap back is on the interface.
Step 13: Sew the pieces of fabric facing each other together except for the bottom edge. Once done, flip it out so that the right side of the fabric is exposed.
Step 14: To create the side panel, open the book slightly and place it sideways on the fabric. Trace the shape of the book cover and cut out after. Fold it the cut out together so you are left with two layers.
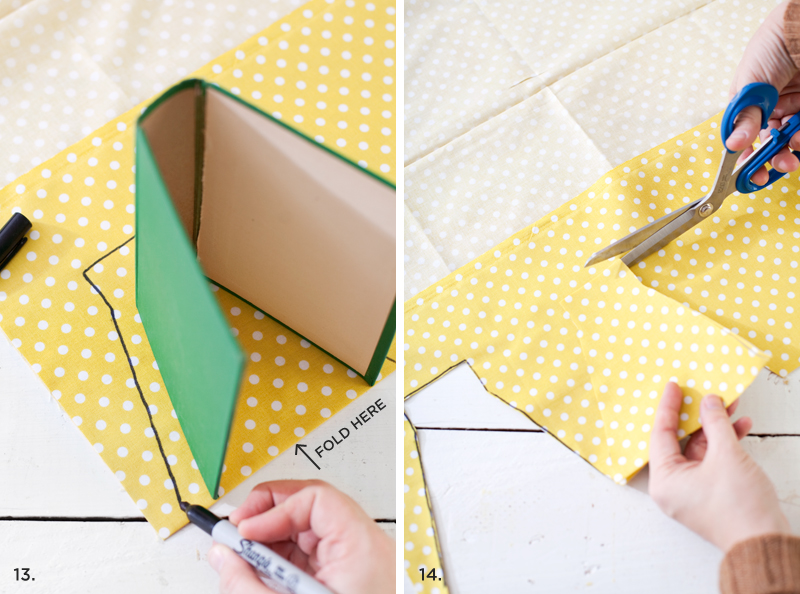
Step 15: Stitch the two layers together. Leave an allowance of .5”.
Step 16: Using a glue gun, stitch the side panels. Next, attach the lining to the inside of the book.
Step 17: Attach the snap flap using the same glue gun and your purse is ready.