


Halloween is one of the most widely celebrated holidays of the year. People compete for the most creative costumes and for the spookiest house decorations. However, since Halloween is short-lived, investing in costumes and decorations seems like a waste of money. As a solution, why not make your own Halloween crafts? You don’t need to spend money in order to go all-out and participate in this spooky season. You can just use the materials and supplies that are already available in your home. This way, you’re not only cutting costs for your Halloween needs, you’re also lessening waste by reusing and repurposing some old items lying around in your house. Here are seven recycled
Halloween crafts you can do.
1. Tin Can Décor
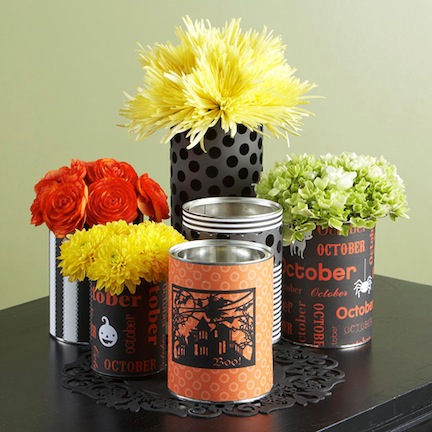
You can quickly transform some tin cans into Halloween decorations by wrapping them with some decorative paper. Stick to Halloween-themed decorative paper colours such as orange and black. You can even print out the design yourself. Display these cans or use them as vases or party favours.
2. Hardware Halloween Pumpkin
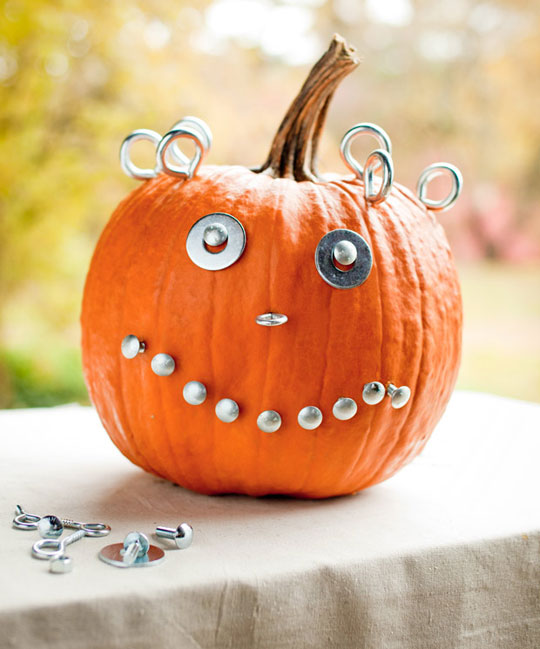
You don’t have to buy a carved-out pumpkin to save yourself from the hassle of carving it out yourself. Just use any kind of junk or scraps you can find around the house. Dig around your drawers and tool box to find items you can use as eyes, mouth, and more.
3. Glitter Bats
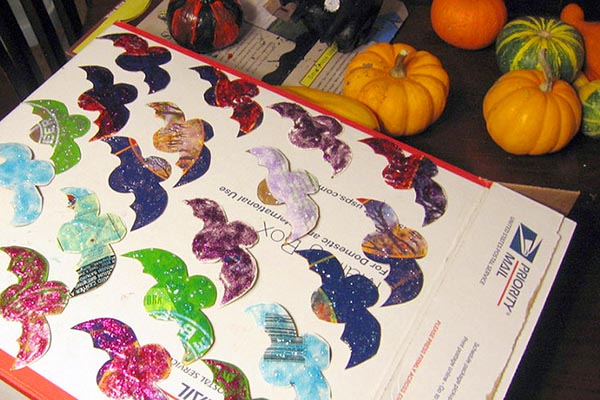
Make some glitter bats out of any scrap, old cardboard that you can find around the house. Draw or print out a bat template then trace it out onto any cardboard like cereal box. Make as many as you like. Don’t bother hiding the print of the cereal box as it would add more flair to the bats. Just top it with a coat of glitter glue then hang them on twines or stick them onto the walls using double-sided tape.
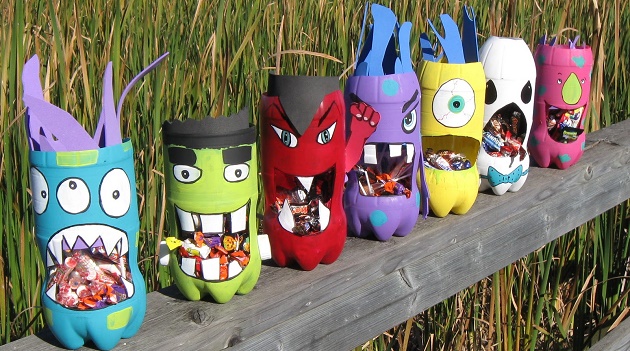
4. Tin Can Monsters
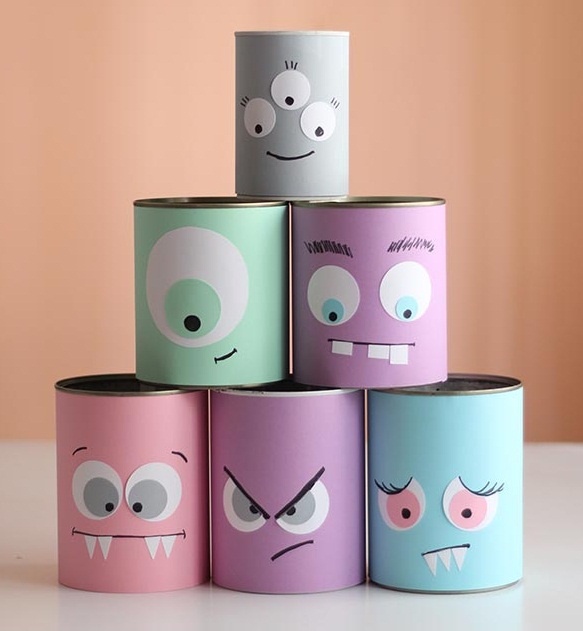
Make some adorable monsters out of tin cans and google eyes. Start by painting the tin can or covering it with decorative paper with the colour you want your monster to be. Use hot glue to add some google eyes then draw in the mouth using a marker or paint. Be creative and add more designs such as hair, horns, ears, eyebrows, or more.
5. Milk Jug Pumpkin Candy Holder
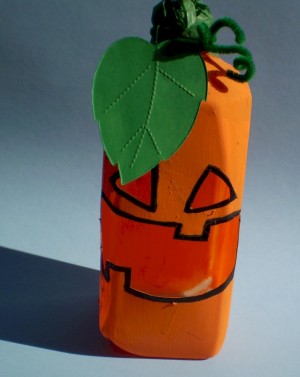
Draw some eyes and mouth on a clean, empty milk jug then cut it out with a knife or blade. Make sure the mouth is big enough for the kids’ hand to fit into. Lightly sand the outside of the jug so that the paint will adhere to its surface. Sand any sharp edges made by cutting out the eyes and mouth too to keep it from nicking the child’s skin. Paint the jug orange then cover the lid with crumpled green construction paper. Glue in a leaf and some pipe cleaner to mimic the curled stems of a pumpkin. Finally, trace the outline of the eyes and mouth with a marker or black paint.
6. Spider Web Trash Bag
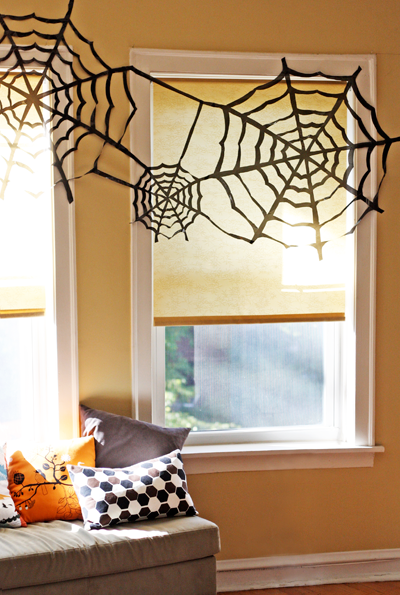
Trim the side and bottom seams of the trash bag then cut it into a square. Fold the square diagonally to form a triangle then fold it in half twice more. Using a sharpie, trace out a guide for the spider web first. Draw a stem from the pointed end of the triangle to the center of the thick end. Sketch some scallops protruding out horizontally from both sides of the stem. Cut out everything in between each scallop. It should open up into a spider web shape that you can easily fold up and reuse next year.
7. Paper Mache Bowls

Line the inside of a huge bowl with plastic. Dip some strips of newspaper or any used paper one at a time in a one-to-one mixture of white glue and water. Lay the strips on the plastic-covered inside of the bowl until it’s fully covered. Let it dry. Top with strips of tissue paper dipped in the same glue mixture. Dry again then paint into pumpkins or ghosts.