

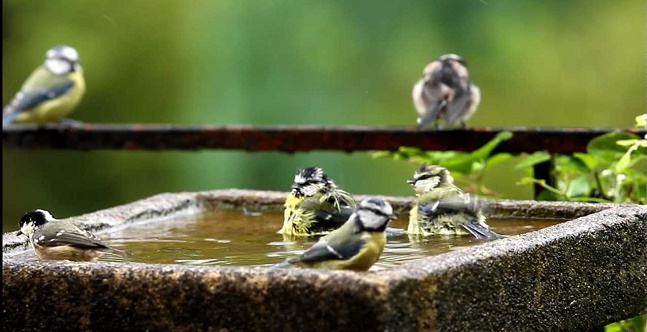
Bird baths make a charming addition to your home gardens. They’re not just quaint ornaments, but they also add musicality to your garden with the birds that they attract. Invite a few of your chirping feathery friends into your garden with these charming birdbath ideas.
Flower Planter and Bird Bath Duo
A wonderful combination of two ideas—a planter and a bird bath!
Materials:
8-inch tall terracotta pot
4- or 5-inch tall pot
4 6-inch tall pots
Terracotta sealer
62-inch rebar
Spray-paint primer
Spray-paint in your color of choice
Household adhesive
Discarded globe from boob light
Seal your pots with a terracotta sealer then use a primer for your pots. Here comes the fun part, spray-paint them with a color that you like.
Next, measure the height of all of your pots then add 24 to that number. This will be the height of your rebar. Cut your rebar with a hacksaw then hammer it into the ground at least 2 feet down to hold your pots. Thread your pots unto the rebar and fill them with soil.
Rest your bird bath bowl on the top flower pot. The rebar should thread all the way through it. Seal the gap between the hole and the rebar with a household adhesive. Take the discarded globe and place it on top of the rebar. Let the adhesive cure for at least a day before filling the bowl with water.
Plant your flowers and enjoy.
Mosaic Bird Bath
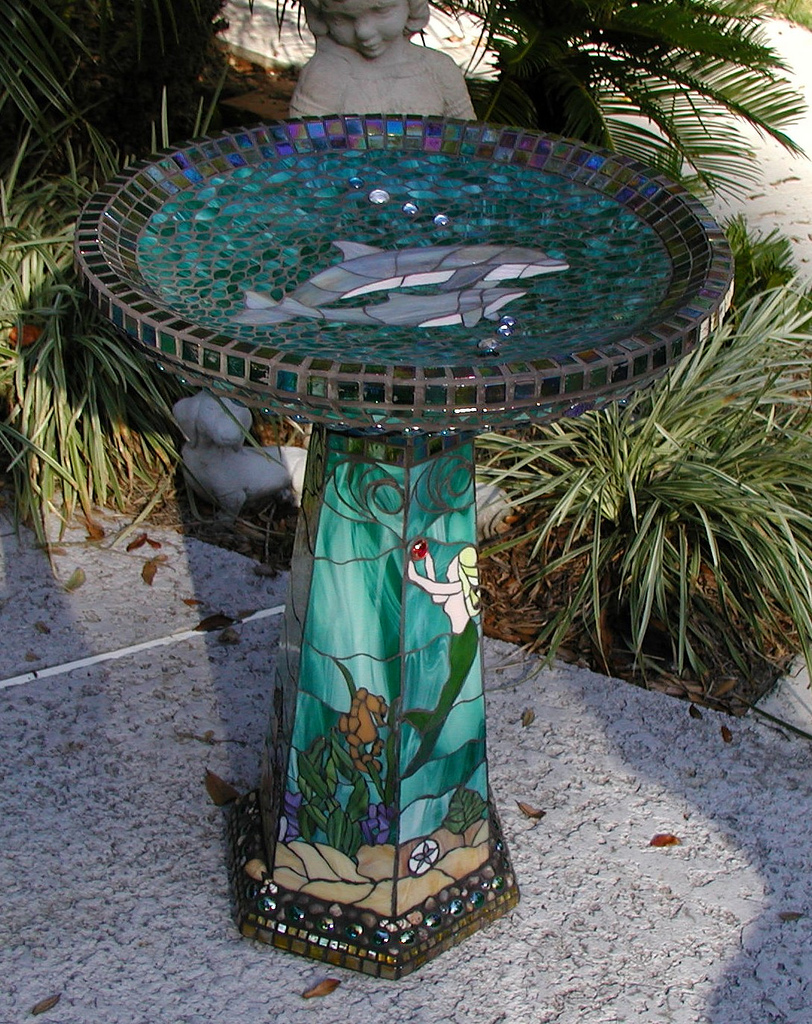
This bird bath looks chic and expensive you won’t believe how easy it is to make. This also makes an excellent personalized gift to your bird watcher friends.
Materials:
approximately 300 pieces 3/8-inch glass tiles
12-inch terracotta saucer
terracotta sealer
water-resistant tile glue
sanded grout
grout sealer
Tools:
tile cutter
foam paint brush
plastic knife
paper towels, sponge and some soft cloth
rubber gloves
safety glasses
dusk mask.
Rinse the terracotta saucer and allow it to dry overnight. Seal all saucer surface with a terracotta sealer. Let the sealer dry for at least 2 hours before gluing the tiles.
Use the tile cutter to cut the tiles to your specification. Apply a thin layer of adhesive at the back of each tile with a plastic knife and press the tile down to the saucer. Set the tiles no more than ½ inches from each other, keeping the distance the same for all pieces. Once all tiles are in place, let the glue dry for 24 hours before applying the grout.
Wearing a dusk mask, mix the sanded grout according to package directions. The grout should have the consistency of peanut butter. Let the grout sit for 5 to 10 minutes before applying it.
Now wearing rubber gloves, apply the grout by hand or with a putty knife. Press the grout between pieces and smooth it with your fingers. Make sure all tiles are covered and are smooth to the touch when you reach the rim of the saucer. Let the grout sit for 30 to 60 minutes or until it’s dry. Wipe off excess grout with a dry cloth.
Let the grout sit for another 30 to 60 minutes. Then using a wet sponge, wipe off any film off the tiles. You may need to do this several times over the course of an hour or two. Rinse and wring the sponge for best results. After a few hours, buff the tiles with a dry soft cloth to remove the last of the film.
Let the grout dry for at least 24 hours then apply a top layer of outdoor penetrating sealer with a foam paintbrush. Allow the sealant to dry for about 10 minutes then wipe off the excess with a paper towel. Let it dry for another 2 hours then apply another coat of sealer.
Recycled Lamp Bird Bath

You won’t believe how fast and easy it takes to make this one. All you need is an old lamp, spray paint, super glue, put in a few hours of work and a little creativity and you’ll have a classy bird bath in no time.
Materials:
An old lamp
A wide, shallow bowl for bath
Spray primer
Spray paint
Painter’s tape
Clear epoxy
Ceiling light canopy
Remove the socket and shade support then cut the cord at both ends to make it easier to pull the cord from the lamp housing. Attach a ceiling light canopy at the top of the lamp to give the bowl additional support. You may need to add a washer if the canopy hole is larger than the nut on the lamp.
Wash down the lamp to get rid of any dust and debris. Let it dry thoroughly. Use a painter’s tape to protect the base of the lamp. Apply the primer and let it dry before adding a layer of paint in the color that you want. Several light coats of paint should give you a quick transformation.
Once the paint is thoroughly dried you can glue the bowl onto the circular canopy edge with epoxy. Make sure you’ve marked the center of the bowl before gluing it. An off-center bowl will fall over when filled with water. Set this aside for an hour or so to let the epoxy cure.
Look for the perfect spot in your garden, set the bird bath, fill it with water and enjoy your handiwork.